 Birch Bay Window
 Ferndale sits a bit back from the immediate shoreline compared to a waterfront lot in Birch Bay, but it still sits squarely inside the same Whatcom County weather system — salt-laden marine air drifting in off the water, long stretches of wind-driven rain through fall and winter, and a moss and mildew season that can run most of the year on shaded walls. Siding here takes a steady beating even when a house isn't sitting right on the beach, and that shows up in a specific, recognizable pattern of repair calls: cracked or delaminating panels, soft spots low on the wall, moss creeping across north-facing siding, and trim that's started to separate at the joints.
We treat siding repair as its own discipline, not a smaller version of a full replacement job. A repair that only patches the visible damage without checking what caused it tends to fail again within a season or two. A repair done right starts by figuring out why that spot failed in the first place, then fixes both the symptom and the cause. That distinction matters more in a climate like this one than it would somewhere drier, because moisture that gets behind siding here doesn't dry out quickly — it sits, and it keeps working on whatever it's touching.
What Ferndale's Climate Does to Siding
Moisture That Doesn't Dry Out Fast
Whatcom County's wet season isn't just about total rainfall — it's about how long walls stay damp between storms. When siding is properly installed and sealed, that moisture sheds off the surface and evaporates. When there's a gap, a failed seal, or a crack, water gets behind the cladding and stays there, because the drying window between storms is short for months at a time. That's the mechanism behind most of the rot and delamination we find during repair calls.
Wind-Driven Rain and Salt-Laden Air
Being close enough to the coast to catch salt-laden air matters even a few miles inland. Salt accelerates corrosion on fasteners, flashing, and any exposed metal trim, and it can speed up the breakdown of lower-grade finishes. Combine that with wind that pushes rain sideways into wall assemblies rather than letting it run straight down, and you get moisture intrusion at seams, corners, and penetrations that a calmer, drier climate would rarely test.
A Long Moss and Mildew Season
Shade, mild temperatures, and near-constant dampness add up to a moss season that can stretch across most of the year on north-facing or tree-shaded walls. Moss and mildew themselves don't destroy fiber cement the way they can compromise a wood-based product, but they hold moisture against the surface longer, and any existing crack or gap becomes an easier entry point once organic growth is sitting on top of it.
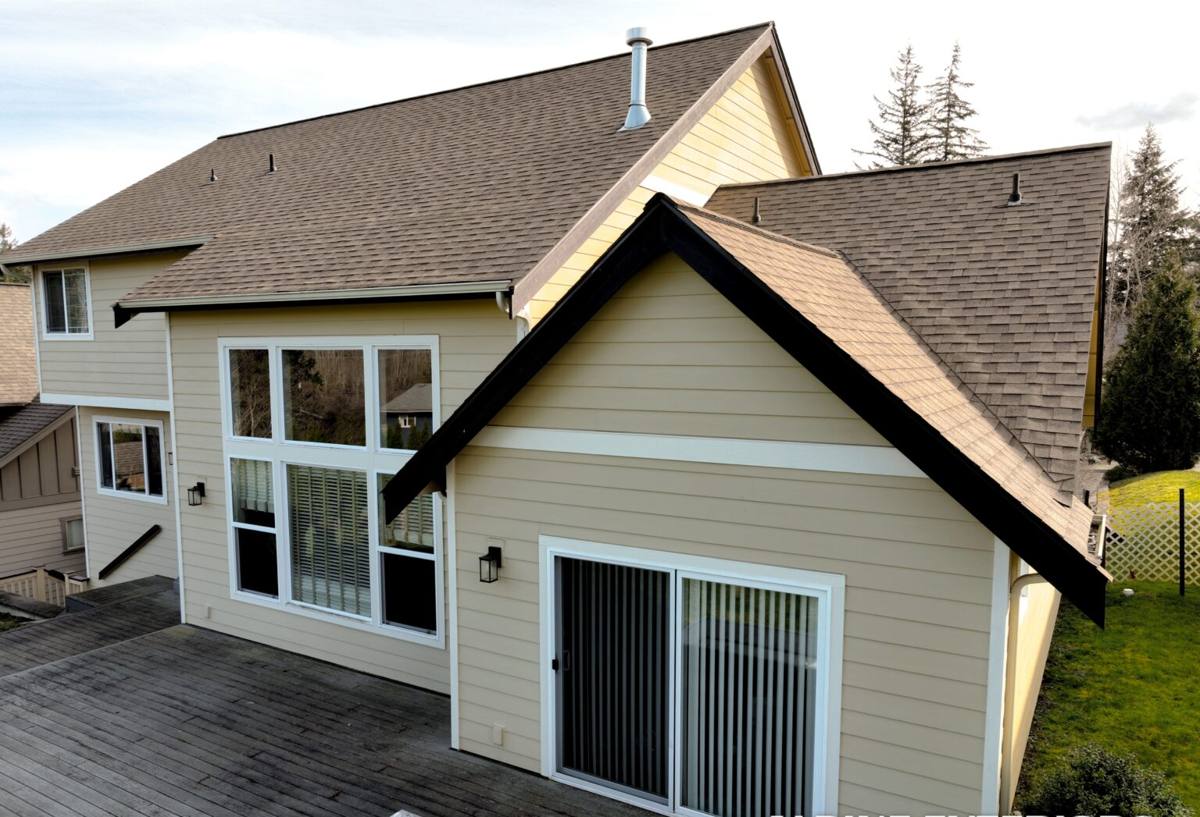
Common Siding Repair Issues We See in Ferndale
- Cracked or chipped panels — usually from impact damage, settling, or age, and often worse than they look once you check behind the surface crack
- Soft or delaminating boards — a sign moisture has been getting behind the siding for a while, most common on lower wall sections and near grade
- Failed caulk and sealant joints — the first line of defense at trim and panel seams, and the first thing to give out under repeated wetting and drying cycles
- Moss and mildew staining — cosmetic on its own, but worth checking as an indicator of a wall section that stays wet longer than it should
- Corroded or failing fasteners — salt-laden air speeds this up, and a loose panel is often a fastener problem before it's a siding problem
- Damage at flashing transitions — around windows, doors, and roof-to-wall intersections, where water intrusion does the most hidden damage
- Impact damage — from storms, debris, or accidental contact, usually isolated to one or two panels but needing a matched repair to look right
Repair or Replace? How to Tell the Difference
Not every damaged section needs a full re-side, and not every crack is a simple patch. The honest answer depends on how far the damage has spread and what's happening behind the surface, which is why we inspect before quoting either direction.
| Factor | Usually Points to Repair | Usually Points to Replacement |
|---|---|---|
| Extent of damage | Isolated to a few boards or one wall section | Spread across multiple walls or the whole exterior |
| Underlying moisture | Surface-level; substrate and framing are dry | Rot or sustained moisture found in sheathing or framing |
| Age of existing siding | Still well within its expected service life | Nearing or past the age where the whole system is due |
| Material match available | Matching product and finish can be sourced | Discontinued profile or finish with no close match |
| Cause of failure | One-time event: impact, isolated fastener failure | Systemic issue: original installation defect, chronic water path |
| Cost over time | Lower upfront, appropriate for the scope | Repeated repairs would eventually cost more than one full job |
The category that trips people up most is a house with widespread but shallow damage — lots of small issues, none individually severe. That's often a case where several targeted repairs still make more sense than a full replacement, but it takes an actual inspection to know which side of that line a given house falls on.
What a Correct Siding Repair Actually Involves
Diagnosis Before Demolition
We start by figuring out why the damage happened, not just where it is. A cracked panel near grade might be impact damage, or it might be a sign that water has been wicking up from a drainage problem at the foundation line. Pulling the damaged section without answering that question means there's a real chance of doing the same repair again in a year or two.
Checking What's Behind the Siding
Once a damaged panel or board comes off, we look at the house wrap, flashing, and sheathing behind it. In this climate, that's not an optional step — moisture that's found its way behind siding has usually been sitting there for a while, and any repair that doesn't address what's underneath is cosmetic at best.
Matching Material and Finish
A visible repair patch looks worse than the damage it replaced. For homes already sided in James Hardie fiber cement, matching the existing profile and ColorPlus finish keeps a repair from standing out as an obvious patch job. For homes currently sided in another material where the damage is significant enough to warrant it, we'll walk through what a full or partial transition to fiber cement would look like rather than patching a product we don't install ourselves.
Fastening and Flashing Correct to Spec
Repairs get fastened and flashed the same way a full installation would be — correct fastener type and spacing, proper clearance from grade, and flashing integration at any seam that ties into an existing penetration or trim line. A repair that skips these details to save time tends to fail again at the same spot.
Why We Only Work with James Hardie Fiber Cement
We install and repair James Hardie fiber cement exclusively. We don't install or repair LP SmartSide, vinyl siding, Cemplank, Allura, primed spruce, or cedar. That's not a knock on those products — each has a place in the market and plenty of homeowners are satisfied with them. It's a professional standard we settled on after years of exterior work in this specific climate, where salt air, sustained moisture, and a long wet season put more stress on a wall assembly than a drier, calmer region would.
- Non-combustible core: fiber cement doesn't feed a fire the way wood-based siding can.
- Factory-applied ColorPlus finish: color is baked on under controlled conditions, which holds up longer against fading and chalking than field-applied paint — and makes color-matched repairs more reliable.
- Climate-engineered HZ formulation: Hardie's HZ5 product line is built for regions with heavy moisture exposure, which describes this part of Whatcom County well.
- Dimensional stability: fiber cement doesn't swell, warp, or cup the way some wood-based products can after repeated wetting.
- Strong transferable warranty: Hardie backs the product with a robust warranty structure, provided the original and any repair work follow spec.
If your Ferndale home is already sided in James Hardie, repair work is usually straightforward for us — we know the product line and how to match it. If it's sided in something else and the damage is extensive, we'll give you an honest read on the repair itself and, separately, an honest conversation about what switching to fiber cement would involve, without pressure either way.
Our Repair Process
- On-site inspection — we look at the visible damage and check behind it wherever possible to understand the actual cause, not just the symptom
- Honest scope — a clear recommendation on repair versus replacement, and what's driving that call
- Material sourcing — matching existing James Hardie profile and finish where applicable, so the repair doesn't stand out
- Removal and substrate check — damaged sections come out carefully, with a look at sheathing, house wrap, and flashing underneath before anything new goes back on
- Repair and fastening to spec — new material installed and fastened correctly, with flashing integrated cleanly into the surrounding wall
- Final check — a look at the finished repair and the surrounding area to confirm nothing nearby is showing early signs of the same problem
A Practical Checklist Before You Hire for Siding Repair
- Ask whether they'll check behind the damaged section, not just patch the visible surface
- Confirm what siding material and finish they're proposing to match, and whether it will actually blend with the existing wall
- Ask what caused the original damage, in their professional opinion, and how the repair addresses that cause
- Get a written scope before work starts, including what happens if hidden rot or moisture is found once the old siding comes off
- Confirm current Washington contractor licensing and insurance
- Ask how the repair is warrantied, separate from the manufacturer's product warranty
Why a Local Crew Matters for Repair Work
Siding repair is diagnostic work as much as it's installation work, and diagnosis gets more accurate with local pattern recognition. A crew that regularly works Ferndale and the surrounding Birch Bay area already has a sense of where moisture tends to collect on homes in this specific stretch of Whatcom County, which wall orientations see the worst moss buildup, and which fastener and flashing shortcuts show up as failures a few years down the road. That familiarity shows up in small decisions during a repair — whether to check one extra board past the visibly damaged one, whether a particular corner needs a different flashing detail than the manufacturer's generic instructions call for — and those small decisions are usually what determines whether a repair holds for good or needs to be redone.
It also matters for accountability. A local contractor who repairs siding in this area regularly has a reputation to protect on repeat business and referrals within the same community, which tends to mean straighter answers about what actually needs fixing versus what would just pad the invoice.
If you've got a section of damaged, cracked, or moss-covered siding on a Ferndale home and aren't sure whether it needs a patch or something bigger, we're happy to take a look and give you a straight answer. We offer free, no-pressure estimates for siding repair in Ferndale and the surrounding Birch Bay area — use the form below to get a time on the schedule.