 Birch Bay Window
 Birch Bay Village Sits Right in the Path of the Weather
Birch Bay Village homes sit close enough to the water that salt air is a daily fact of life, not an occasional nuisance. Combine that with the driving rain that rolls in off the Strait of Georgia and the long, damp moss season that Whatcom County is known for, and you have an exterior environment that is genuinely harder on siding than most inland Washington neighborhoods. Salt-laden air accelerates corrosion on fasteners and metal flashing. Wind-driven rain finds every gap in a poorly lapped or poorly caulked siding job. And months of overcast, moisture-heavy weather give moss and algae the head start they need to take hold on anything that stays damp too long.
None of that means siding is a losing battle in Birch Bay Village. It means the installation has to be done with this specific climate in mind, from the product you choose down to how the flashing is lapped at every window. That's the whole premise of this page: what a correct siding job looks like for a home in this neighborhood, and why we've built our crew and our process around getting it right the first time.
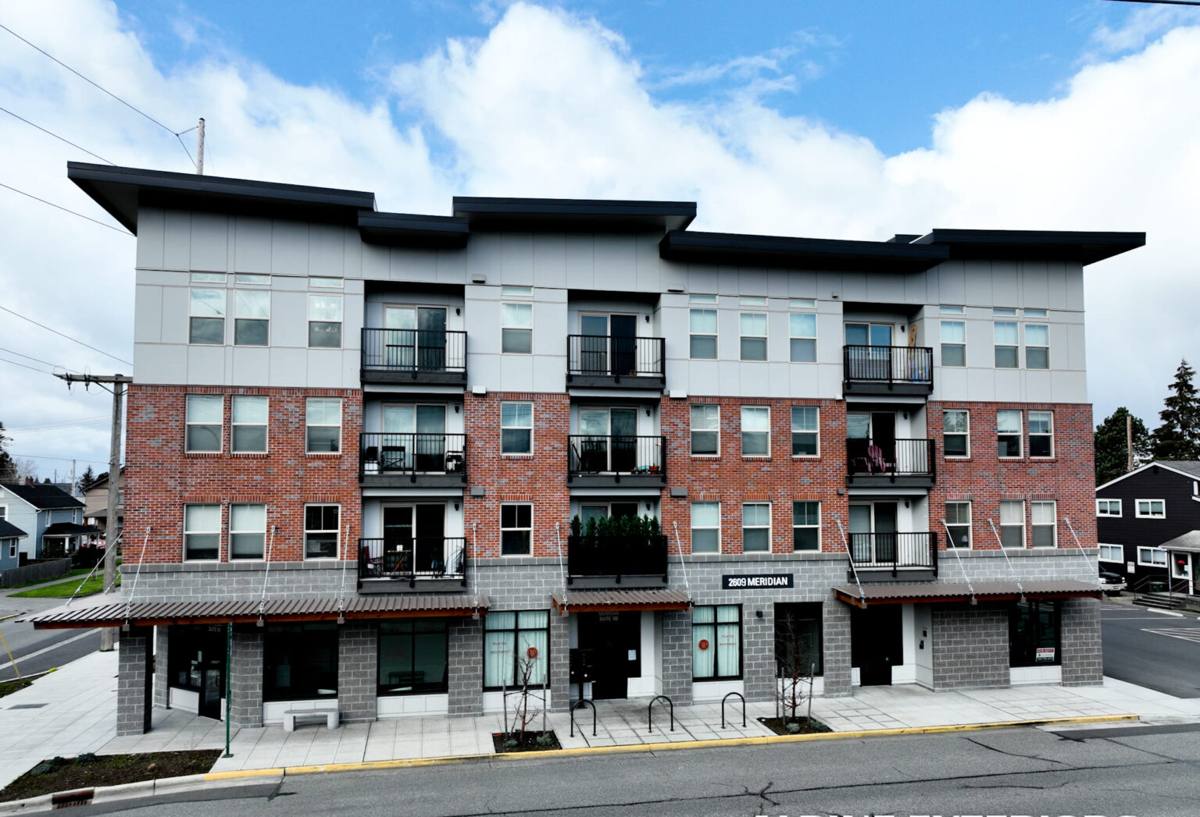
What Birch Bay Village Homes Actually Need From Their Siding
A siding system here needs to do three things well, consistently, year after year:
- Shed water aggressively. Driving rain off the water doesn't just fall straight down — it gets pushed sideways into walls, so laps, flashing, and caulk joints all have to be detailed for wind-driven moisture, not just gravity.
- Resist corrosion and salt exposure. Fasteners, flashing, and trim hardware that aren't rated for coastal exposure will show rust streaks and failure years before an inland installation would.
- Stay ahead of moss and mildew. A siding material and finish that hold onto surface moisture will grow moss faster than one that dries out and sheds water cleanly.
Vinyl siding flexes and gaps at the seams over time, giving wind-driven rain a path behind the panel. Untreated wood and primed spruce absorb moisture at cut edges and end up feeding the exact moss and rot problems this climate is built to cause. That's part of why we standardized on one product system rather than offering a menu of options we don't fully stand behind.
Why We Only Install James Hardie Fiber Cement
We install James Hardie fiber cement siding exclusively — not vinyl, not LP SmartSide, not cedar, not primed spruce, not other fiber cement brands. That's a deliberate standard, not a sales pitch. Fiber cement is non-combustible, dimensionally stable in wet-dry cycling, and holds a factory-applied finish far longer than field-applied paint on wood or engineered wood products. In a neighborhood dealing with salt air and a long wet season, those properties matter more than they would somewhere drier and further inland.
James Hardie's ColorPlus finish is baked on and warranted against fading and cracking, which matters in coastal air where UV and salt both work on painted surfaces. Hardie also engineers region-specific product lines — including an HZ5 formulation built for harsher, wetter climate zones — so the product itself is matched to conditions like the ones Birch Bay Village sees, rather than being a one-size-fits-all board.
What This Means for Your Project
Choosing Hardie isn't just a materials decision — it changes how the job gets built. Fiber cement requires different fastening, different clearances, and different flashing details than vinyl or wood. A crew that installs multiple product types across different jobs is more likely to default to whatever technique is fastest rather than what a specific product's manufacturer instructions actually call for. Because we only install one system, our crew isn't switching mental models from one job to the next.
What a Correct Siding Installation Actually Involves
Siding failures in coastal Whatcom County are almost never about the panel material itself — they're about what's underneath it and around it. A correct installation includes:
- A continuous, properly lapped weather-resistive barrier behind the siding, installed shingle-style so every layer sheds water downward and outward.
- Correct flashing at every window, door, and roof-to-wall intersection, integrated with the weather barrier rather than just caulked over the top.
- Manufacturer-specified fastener placement, penetration depth, and clearance from panel edges — over-driven or misplaced fasteners are one of the most common causes of early siding failure.
- Proper ground clearance and gap allowances at the base of the wall, so splashback and standing moisture don't wick into the bottom course.
- Field-cut edges primed or sealed per the manufacturer's requirements, since an unsealed cut edge is where moisture intrusion typically starts.
- Caulk and sealant used only where the manufacturer's details call for it — not as a substitute for correct flashing and lapping.
Every one of these steps is easy to skip and hard to see once the job is finished — which is exactly why they're where corners get cut. A siding job can look finished and clean from the curb for a year or two even if the flashing behind it was never installed correctly.
How Our Process Works
1. On-Site Assessment
We walk the exterior, check the condition of the existing siding and trim, and look at drainage, grading, and any areas already showing moisture staining, moss buildup, or gapped seams.
2. Product and Color Selection
We help you choose the right Hardie panel style, plank profile, and ColorPlus color for the home, factoring in sun exposure and how the finish will hold up given the salt air this close to the water.
3. Tear-Off and Substrate Check
Old siding comes off and we inspect the sheathing underneath for any rot or moisture damage before anything new goes on — installing new siding over a compromised substrate just hides the problem.
4. Weather Barrier and Flashing
A new weather-resistive barrier goes on with correct shingle-lap sequencing, and flashing is integrated at every penetration and intersection before a single piece of siding is hung.
5. Installation to Manufacturer Spec
Panels are hung, fastened, and gapped according to James Hardie's published installation guidelines — not a generalized "how we've always done it" approach.
6. Final Walkthrough
We walk the finished exterior with you, check caulk lines and trim details, and go over basic care so you know what to expect from the finish over time.
Cost Factors for Birch Bay Village Siding Projects
Every home is different, but the same variables tend to drive cost up or down on siding installations in this area:
| Factor | Why It Matters |
|---|---|
| Home size and wall complexity | More corners, dormers, and roof-to-wall intersections mean more flashing detail work and labor time |
| Substrate condition | Rot or moisture damage found during tear-off requires repair before new siding can go on correctly |
| Panel profile and finish | Lap siding, panel siding, and shingle-style Hardie products carry different material and labor costs |
| Trim and accessory scope | Full trim replacement alongside siding adds cost but keeps the whole exterior system consistent |
| Site access | Tight lots, fencing, or limited staging space can slow installation and affect labor time |
We don't quote broad ballpark numbers without seeing the home — too many of these factors are specific to your property. A walkthrough gets you an accurate number, not a guess.
Common Problems We Find on Older Birch Bay Village Homes
Because we work this neighborhood regularly, a few issues show up often enough to be worth mentioning:
- Moss buildup concentrated on north-facing and shaded walls that stay damp longest through the wet season.
- Corroded or rust-streaked fasteners and flashing on older installations that weren't specified for coastal exposure.
- Caulk used to compensate for missing or poorly lapped flashing at windows and doors, which fails once the caulk itself ages and cracks.
- Gapped or buckled siding seams where wind-driven rain has pushed moisture behind the wall over time.
None of these are unusual for this area — they're the predictable result of a coastal climate meeting an installation that wasn't detailed for it. Catching them early, or avoiding them with a correct install from the start, is a lot cheaper than dealing with the sheathing damage that follows years later.
Maintenance After Installation
James Hardie siding, installed correctly, is genuinely low-maintenance — but "low" isn't "zero," especially this close to the water. A short seasonal routine goes a long way:
- Rinse the exterior periodically to clear salt residue and surface debris, particularly on walls facing the water.
- Check and clear gutters before the wet season so runoff isn't sheeting down the siding face.
- Trim back vegetation and tree cover that keeps any section of wall in constant shade and moisture.
- Look over caulk lines at trim and penetrations every year or two and address any cracking before it lets water in.
Why a Local Crew Matters for This Job
Siding installation manuals cover the general rules, but a crew that already works Birch Bay Village knows which walls take the worst of the driving rain, where moss tends to establish first, and how the salt air here compares to a job five miles inland. That local pattern recognition shows up in small decisions — where to add extra flashing attention, which color finishes hold up best against this particular light and salt exposure, how to sequence a tear-off around this area's wet-season weather windows. It's the difference between a generic installation and one that's actually built for the block it's going on.
If you're planning a siding project in Birch Bay Village, we'll walk your home, look at what the current exterior is telling us, and give you a straight assessment of what correct James Hardie installation would involve for your property. The estimate is free, and there's no pressure attached — just use the form below to get started.