 Birch Bay Window
 Why Board & Batten Behaves Differently Near the Water in Blaine
Board & batten has become one of the most requested siding profiles for homes in and around Blaine, and it's easy to see why — the vertical lines read as clean, modern, and a little more custom than standard lap siding. But the look is only half the story. On the water side of Whatcom County, the material underneath that vertical pattern has to survive conditions that inland siding jobs never see: salt-laden air rolling off the bay, driving rain that hits walls sideways during winter storms, and long stretches of shade and dampness that keep moss and mildew active for most of the year.
Salt Air and Coastal Exposure
Homes close to Semiahmoo Bay and the Birch Bay shoreline take on airborne salt that settles on exterior surfaces and accelerates the breakdown of paint films, caulking, and fasteners not rated for coastal exposure. Board & batten has more seams and more exposed fastener lines than plain lap siding, which means more places for that salt exposure to find a weak point if the wrong materials or hardware were used.
Driving Rain and Wind-Driven Moisture
Storms coming off the Strait of Georgia don't just drop rain straight down — they push it sideways into walls, corners, and window trim. A vertical board profile can actually shed water well when it's detailed correctly, but if the battens are installed without a proper gap behind them or the wrong caulking approach was used at the seams, wind-driven rain gets forced behind the boards instead of running off the face.
Moss, Shade, and the Long Wet Season
Between mature tree cover and the marine layer that sits over Birch Bay for much of the year, north- and west-facing walls can stay damp for weeks at a stretch. That's a long runway for moss and mildew to take hold on any siding material that isn't built to resist it, and it's one of the biggest reasons the underlying product matters as much as the installation.
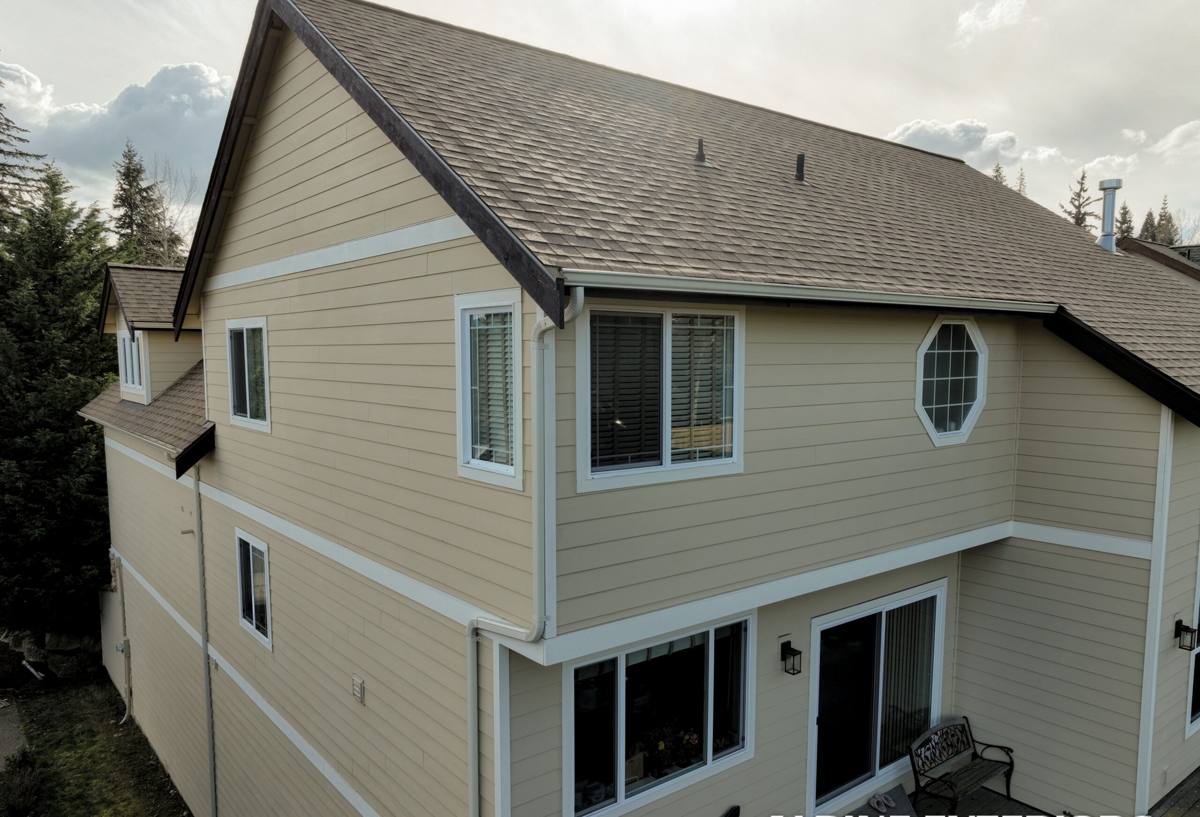
What Board & Batten Siding Actually Is
Board & batten is a pattern, not a material — it's wide vertical boards with narrower strips (battens) covering the seams between them. Historically it was solid wood, which looked great for a season or two and then needed constant repainting and seam maintenance as the boards moved with moisture. Today it's built with engineered panel products designed to hold their shape and finish for decades instead of years.
Not All "Board & Batten" Products Are Built the Same
A lot of what gets marketed as board & batten siding is really a thin engineered wood or vinyl panel dressed up to look the part. Those products can perform fine in dry, low-exposure climates, but in a coastal Whatcom County environment with constant moisture cycling, the difference between a product engineered for wet climates and one that simply looks the part shows up within a handful of years — usually as swelling at the seams, soft spots at the base, or paint that won't hold.
Why We Install Board & Batten Only in James Hardie Fiber Cement
We standardized on James Hardie fiber cement for every siding job we do, board & batten included, and this climate is exactly why. Hardie's vertical panel and batten system is non-combustible, doesn't swell or rot the way wood-based products can, and comes with a factory-applied ColorPlus finish that's baked on rather than field-painted — which matters when you're fighting salt air and UV exposure at the same time. Hardie also builds its siding in climate-specific HZ formulations, and the version used in this region is engineered for the kind of moisture cycling Whatcom County sees all winter.
We don't install LP SmartSide, vinyl, or other engineered wood board & batten systems, and we're upfront about why: those products can be reasonable choices in the right setting, but we've made fiber cement our standard because it holds up to sustained coastal moisture and salt exposure with less long-term maintenance and a stronger warranty behind it. That's a standard we apply to every home we side, not just the ones directly on the water.
What a Correct Board & Batten Installation Involves
The profile looks simple, but a correctly installed board & batten wall has several layers most homeowners never see. Skipping any one of them is how a good-looking installation turns into a callback two or three winters later.
Drainage Plane and Rainscreen Gap
Behind the siding, a properly lapped weather-resistive barrier manages any moisture that gets past the outer layer, and a rainscreen gap behind the battens lets that wall assembly dry out between rain events instead of staying saturated. In a climate with as much sustained dampness as Birch Bay's, that drying capacity is what keeps moss and rot from taking hold at the seams.
Fastening and Batten Layout
Panels and battens need to be fastened per the manufacturer's specification — correct fastener type, spacing, and penetration into structural framing, not just the sheathing. Battens spaced or fastened incorrectly can trap water at the seam instead of letting it run off, which defeats the purpose of the profile.
Flashing and Sealant Details
Every window, door, corner, and roofline intersection needs flashing detailed to shed water outward, with sealant used only where the manufacturer calls for it — not as a substitute for proper flashing. This is where driving rain off the bay finds its way in if it wasn't done right the first time.
Where Board & Batten Jobs Go Wrong Around Birch Bay and Blaine
We get called out to look at board & batten walls that were installed by crews unfamiliar with this coastline, and the failures tend to cluster around a few recurring issues:
- Battens fastened tight against the wall with no drainage gap, trapping moisture behind the seam
- Panels butted directly to window and door trim with no flashing, relying on caulk alone
- Fasteners that aren't corrosion-resistant enough for salt air exposure, leading to staining and loosening over time
- No rainscreen or drainage plane behind the siding at all, especially common on older remodels
- Moss and algae buildup on shaded walls that were never treated with a durable, factory-cured finish
None of these are visible from the curb when the job is finished. They show up years later as staining, soft trim, or paint failure — which is exactly why the installation details matter more than the finished look on day one.
Our Process for a Blaine Board & Batten Project
Site Walk and Assessment
We start by walking the exterior and looking at sun exposure, prevailing wind and rain direction, existing moisture damage, and how the current siding or sheathing has held up. Waterfront and near-waterfront properties around Birch Bay get extra attention to fastener spec and flashing detail given the added salt exposure.
Tear-Off and Prep
Existing siding comes off down to the sheathing so we can check for hidden rot or moisture damage before anything new goes on. Any compromised sheathing gets addressed before the weather-resistive barrier and drainage plane go in — covering over a problem never makes it go away.
Installation
Panels and battens go up per James Hardie's fastening and clearance specifications, with flashing detailed at every window, door, and roofline transition. We keep the rainscreen gap consistent across the wall so the whole assembly can dry out the way it's designed to.
Finish, Cleanup, and Walkthrough
We walk the finished job with you, cover care and maintenance expectations, and make sure the site is cleaned up before we leave. Because the finish is factory-applied, there's no field painting step to schedule or worry about down the road.
Cost Factors to Expect
| Factor | Why It Affects Price |
|---|---|
| Home size and number of stories | More wall area and more difficult access both add labor time |
| Condition of existing siding and sheathing | Rot or moisture damage found during tear-off needs repair before new siding goes on |
| Amount of trim and window/door detail | More flashing and cutting detail around openings adds labor |
| Site accessibility | Waterfront lots, steep grades, or tight access can slow staging and installation |
| Batten spacing and pattern | Tighter batten spacing uses more material and more fastening labor |
| Color and finish selection | Factory ColorPlus finishes vary in cost depending on the line and color chosen |
Every home is different, which is why we walk the property in person before giving a number rather than quoting off a square-footage rule of thumb.
Why Hire a Crew That Already Works in Blaine and Birch Bay
A contractor who mostly works inland doesn't have daily experience with how salt air, wind-driven rain, and shaded moss growth actually behave on a wall assembly. Crews who work this stretch of Whatcom County regularly know which walls need extra attention to flashing, where drainage details matter most, and how the marine layer affects drying times between installation stages. That local pattern recognition is hard to substitute for, no matter how skilled a crew is in general.
Before hiring anyone for a board & batten project in this area, it's worth asking a few direct questions:
- What siding material and product line do you install, and why that one specifically?
- Will you use a rainscreen or drainage gap behind the battens?
- How do you detail flashing around windows, doors, and trim?
- What fastener type do you use, and is it rated for coastal salt exposure?
- What does the manufacturer's warranty actually cover, and does it transfer if the home sells?
A contractor who answers those questions clearly and specifically is one worth trusting with your walls; vague answers are a sign to keep looking.
If you're weighing board & batten siding for a home in Blaine or anywhere around Birch Bay, we're happy to walk the property, look at what your walls are dealing with, and put together a straightforward, no-pressure estimate — just fill out the form below.