 Birch Bay Window
 Window Installation in Cherry Point: Built for Whatcom County's Wet Side
Cherry Point sits on an exposed stretch of Whatcom County shoreline near Birch Bay, and there's not much between the homes here and the weather coming off the water. Housing in this area ranges from older cabins and cottages that have been added onto and updated over the years to newer construction built along the shoreline roads, and regardless of age, windows carry more of the weather burden than almost any other part of the house. Salt-laden air moves through steadily, storms drive rain sideways into wall assemblies instead of straight down, and the shaded, damp conditions common to this part of the coast support a moss and mildew season that runs most of the year on north-facing walls and trim. None of that is unusual for this stretch of the county, but it's a real, constant load on a window installation, and a job that doesn't account for it will show problems years before it should.
We install and replace windows throughout Birch Bay and the surrounding Whatcom County coastline, and Cherry Point is regular territory for us, not an occasional trip. On a window job specifically, we treat the installation and flashing detail as at least as important as the window unit itself. A well-known brand installed with a rushed flashing sequence will leak on this coastline eventually. A solid mid-grade window installed correctly, with flashing that actually ties into the surrounding wall and siding, will typically outlast it.
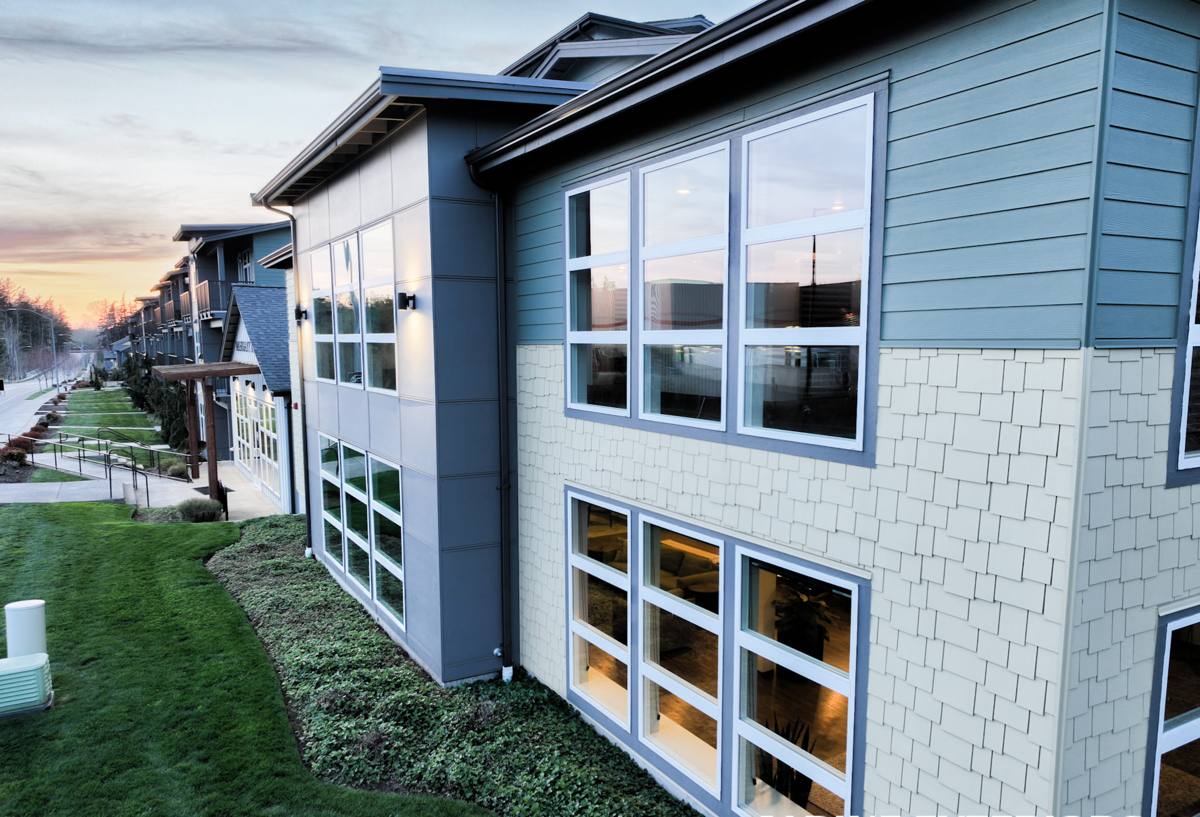
What This Climate Does to a Window Installation Over Time
Salt Air and Hardware Corrosion
Sitting this close to the water means Cherry Point homes get a steady dose of salt-laden air, and that air is hard on anything metal. Lower-grade hinges, locks, balances, and fasteners show pitting, stiffness, and failed seals noticeably sooner here than they would a few miles inland. It's rarely the glass that fails first on a window near this shoreline — it's the hardware and the fasteners holding the frame in place.
Wind-Driven Rain
Storms along this part of the coast don't drop rain straight down — wind pushes it sideways into wall assemblies and window openings, reaching gaps and seams that would stay dry in a calmer, more sheltered setting. The window unit itself is only part of the defense against that. Flashing that laps correctly and ties properly into the surrounding wall is what actually decides whether that water gets turned away or finds its way into the framing.
Moss, Mildew, and Prolonged Moisture
Mild temperatures combined with near-constant dampness give moss and mildew a long growing season on this stretch of Whatcom County coastline, and window sills, trim, and the wood framing around older units are common places it takes hold first. Anywhere water sits instead of draining away becomes a growth surface eventually, and shaded elevations or windows tucked under an overhang with poor drainage tend to show it worst.
Temperature Swings and Condensation
The gap between a heated interior and a cold, wet exterior puts real condensation pressure on glass and frames through the fall and winter. Older single-pane windows and early double-pane units show this constantly — fogging, moisture trapped between panes, or water pooling on interior sills. That's usually a sign a seal has failed, not just a cosmetic annoyance to live with.
Signs a Cherry Point Home Needs Window Attention
- Fogging or visible moisture trapped between the panes of a double-pane window
- Noticeable drafts or cold spots near the frame even when the window is fully closed and locked
- Sills or trim that feel soft, look discolored, or show visible rot
- Windows that stick, won't stay open on their own, or are hard to lock the way they used to
- Visible daylight or gaps where the frame meets the surrounding siding
- Paint or finish peeling and bubbling faster on window trim than on the rest of the exterior
- Persistent moss or dark staining building up on sills, trim, or the wall just below a window
What a Correct Window Installation Actually Involves
Assessment and Measuring
Every job starts with an honest look at the existing opening — not just the window itself, but the frame, sill, and the wall assembly around it. We check for square, level, and any hidden rot or water damage before quoting anything, because what's found at this stage often changes the scope of the work. Field measurements, not catalog assumptions, determine what gets ordered.
Removal and Opening Prep
The old unit comes out carefully so we can see exactly what condition the rough opening, sill, and surrounding framing are actually in. On older Cherry Point homes, this is often where hidden water damage from years of undersized or degraded flashing shows up. Any compromised framing or sheathing gets addressed before a new window ever goes in — installing a new unit into a wet or rotted opening just resets the clock on the same problem.
Flashing and Weatherproofing Sequence
This is the step that matters most given the exposure out here. Flashing has to lap correctly with the weather-resistive barrier and siding around it, water needs a clear path out and away from the rough opening, and every seam gets sealed with materials rated for sustained moisture exposure — not just caulked over and called finished. Caulk is a supplement to a correct flashing sequence, never a substitute for one; it cracks and breaks down over time, and a window that relies on it as the only barrier against wind-driven rain is a callback waiting to happen.
Setting, Shimming, and Sealing
The new unit gets set plumb, level, and square, shimmed at the manufacturer's specified points so it isn't relying on the frame alone to carry its own weight, and sealed at the interior and exterior per the flashing plan already built for that opening. Rushing this step is exactly how a window ends up with a soft spot in its performance that doesn't show up for a season or two.
Trim and Finish Integration
The finished trim has to tie into the surrounding siding cleanly, both for appearance and because trim gaps are a common entry point for wind-driven rain if they're not sealed and integrated correctly. We plan this step as part of the installation, not as an afterthought once the window is already in.
Frame Materials and Hardware Built for This Exposure
Frame material and hardware grade matter more on an exposed shoreline installation than they would somewhere calmer and drier. We'll walk through the honest trade-offs for your specific project rather than defaulting to whatever's fastest to install.
| Frame Material | Strength in This Climate | Trade-Off |
|---|---|---|
| Vinyl | Won't rot, resists salt-air corrosion, generally the most affordable option | Fewer color options; can flex slightly on very large units |
| Fiberglass | Dimensionally stable through temperature swings, holds paint if a color change is wanted later | Higher upfront cost than vinyl |
| Wood-clad | Warmer interior appearance, exterior cladding protects against direct weather | Any breach in the cladding exposes wood underneath to sustained moisture |
| Aluminum | Strong and slim sightlines | Conducts cold and can promote interior condensation without a thermal break |
Hardware grade deserves the same attention as the frame itself. Corrosion-resistant hinges, locks, and balances cost more upfront but hold up far longer against the salt air moving through Cherry Point than standard-grade hardware does, and hardware failure is one of the most common reasons a window that still looks fine stops functioning correctly.
What to Confirm Before You Order
- Ask what hardware grade is included by default, not just what's available as an upgrade
- Confirm the glazing package — pane count, low-E coating, and gas fill between panes
- Get a clear answer on lead time, since sizes outside common stock dimensions can take several weeks
- Ask how the product warranty and the installation warranty are structured separately
New Construction Installation vs. Replacement Installation
The two jobs share a lot of steps, but they're not identical, and the differences matter for scheduling and cost.
| Factor | New Construction Installation | Replacement Installation |
|---|---|---|
| Opening condition | Framed to spec, no existing damage to assess | Depends on the age and condition of the existing wall assembly |
| Flashing integration | Built into the original weather-resistive barrier from the start | Has to tie cleanly into existing siding and flashing already in place |
| Hidden surprises | Minimal — the wall isn't opened up as part of the job | Common, especially on older homes near the shoreline |
| Timeline | Scheduled around the broader construction sequence | Scheduled independently, often within a day or two per opening |
| Best fit | New builds and additions | Failing seals, rot, drafts, or outdated single-pane units |
Our Process, Start to Finish
- On-site assessment — we check each opening's frame condition, seal integrity, hardware function, and how existing flashing ties into the surrounding wall
- Honest recommendation — repair, replace, or new installation, explained with the reasoning behind it rather than a default upsell
- Written scope and ordering — a clear scope of work and a realistic lead time before anything is scheduled
- Removal and opening prep — the old unit comes out carefully, and any hidden framing or moisture issues are addressed first
- Installation and flashing — the new unit is set, shimmed, and flashed to a sequence built for its specific opening
- Trim and finish — exterior trim is integrated cleanly with the surrounding siding
Why a Crew That Already Works Cherry Point Matters
Manufacturer installation guidance is written for average conditions in a moderate climate, and Cherry Point's exposure doesn't match that description. Salt air, wind-driven rain, and a long wet season stack the odds against a rushed installation more than they would somewhere calmer and more sheltered. A crew that's actually installed windows on this stretch of Whatcom County coastline knows which parts of a standard installation sequence are non-negotiable here and where extra time on flashing or sealant is worth it even when it isn't strictly required elsewhere.
That experience shows up in decisions that rarely come up in a sales conversation — how much lap a flashing course needs given the direction storms typically hit a given wall, when a sill needs a sloped cap instead of relying on sealant alone, and which hardware grade actually holds up rather than just meeting a minimum spec. Those are the details that decide whether a window installation is still performing cleanly in fifteen years or showing drafts and soft trim in five.
What to Ask Before Hiring for Window Work Near Birch Bay
- Ask specifically how they handle flashing integration, not just which window brand they sell
- Confirm current Washington contractor licensing and active liability insurance
- Get a written scope that separates the product warranty from the installation warranty
- Ask for a repair-or-replace recommendation on each affected window individually, not a blanket answer
- Ask about realistic lead times for ordering, especially for anything outside common stock sizes
If you're dealing with drafty, foggy, or failing windows on a Cherry Point property, or you're planning new construction and want the installation done right from the start, we're happy to take a look and give you a straightforward, no-pressure read. Use the form below for a free estimate.