 Birch Bay Window
 Siding Repair Built for Cottonwood Beach's Waterfront Conditions
Cottonwood Beach sits close enough to the water that its homes take a different kind of beating than houses even a mile or two inland. Salt-laden air, wind-driven rain that gets pushed sideways into wall assemblies, and a moss season that can stretch from fall through spring all combine to stress siding in ways that generic repair advice doesn't address. When we get a call from this neighborhood, we're not troubleshooting siding in the abstract — we're looking at a specific set of failure patterns that show up again and again on homes this close to Birch Bay's shoreline.
This page is about one job, done right, for one area: siding repair for Cottonwood Beach homes. Not a full replacement pitch, not a generic checklist — what actually needs attention here, what a correct repair looks like, and why the crew you hire for it matters as much as the material.
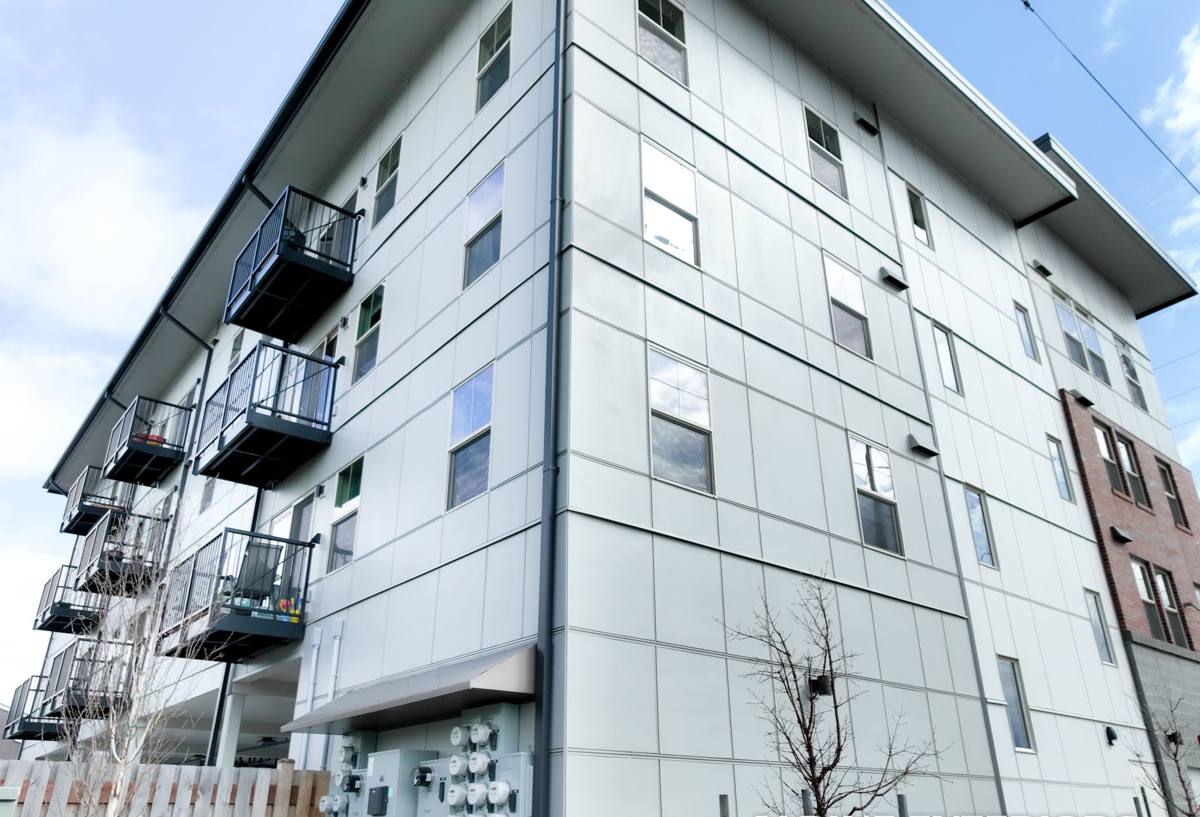
Why Cottonwood Beach Siding Fails Differently
Salt Air and Fastener Corrosion
Airborne salt doesn't just sit on the surface of your siding — it works into fastener heads, joints, and any exposed cut edge. Over years, that accelerates corrosion in nails, trim screws, and flashing that wouldn't show the same wear on a home set back from the water. A siding repair that reuses corroded fasteners or ignores rusted flashing is a repair that fails again within a couple of seasons.
Driving Rain and Wall Penetration
Whatcom County storms coming off the water tend to arrive with real horizontal force. That kind of wind-driven rain finds every gap in a butt joint, every under-caulked seam, and every spot where siding wasn't held to the manufacturer's clearance from grade or roof lines. Water doesn't need a large opening to get behind siding — it needs a *sustained* one, and driving rain is exactly the kind of pressure that turns a small gap into a chronic moisture path.
The Long Moss Season
Shade, moisture, and cooler temperatures near the water add up to a moss and algae season that runs longer here than in drier inland pockets of the county. Moss holds moisture directly against the siding surface for extended periods, and on north-facing walls or areas under tree cover, that constant dampness is often the real driver behind soft spots, paint failure, or swelling — not a single storm event.
What a Correct Cottonwood Beach Siding Repair Involves
A siding repair that's actually going to hold up in this environment isn't a matter of patching the visible damage and moving on. It requires a few things done in sequence, every time:
- Diagnose the moisture source first. Damaged siding is usually a symptom. Repairing the board without finding why it failed — bad flashing, a missing kick-out, a caulk joint that never should have been relied on for waterproofing — just resets the clock on the same failure.
- Open up further than the visible damage. Salt air and trapped moisture travel. What looks like a six-inch soft spot often extends further along the board or into the sheathing behind it. A repair that stops at the visible edge of damage frequently misses compromised material just out of sight.
- Inspect the water-resistive barrier and flashing. Any time siding comes off, the house wrap, flashing, and any penetrations (hose bibs, vents, light fixtures) behind it need a real inspection — not a glance. This is the layer that actually keeps water out of the wall assembly, and it's invisible until the siding is off.
- Match material and fastening to what's already there — or don't match it if what's there was the problem. If the original siding or the way it was installed contributed to the failure, a repair that replicates the same mistake isn't a repair, it's a delay.
- Use corrosion-resistant fasteners and hardware throughout. Given the salt air exposure this close to the water, standard fasteners are a false economy. Stainless or hot-dip galvanized hardware costs more up front and lasts through the environment this neighborhood actually experiences.
- Re-seal and re-flash to spec, not to "looks fine." Caulk is a backup, not a waterproofing strategy. Correct flashing and lap sequencing should be doing the real work; sealant fills the gaps around it.
Common Repair Scenarios We See in This Neighborhood
| Symptom | Likely Cause Near the Water | What the Repair Requires |
|---|---|---|
| Soft or spongy siding near the bottom courses | Splash-back from grade, or clearance from ground/hardscape that's tighter than spec | Replace affected boards, correct clearance during reinstall, check for sheathing damage |
| Persistent moss or dark staining on north/shaded walls | Extended damp periods from shade plus coastal humidity | Clean and treat surface, address the shade/airflow issue if possible, repair any moisture damage underneath |
| Rust streaking below fastener heads or trim screws | Salt-accelerated corrosion of non-resistant hardware | Remove and replace with stainless or hot-dip galvanized fasteners; inspect for hidden rot at fastener penetrations |
| Cracked or separated caulk joints at trim and corners | UV and salt-air breakdown of sealant faster than inland applications | Remove old sealant fully, correct any underlying flashing gap, re-seal with a marine-grade product |
| Warped, bulging, or delaminating panels | Sustained moisture intrusion behind the siding, often from a flashing failure | Full section replacement, water-resistive barrier repair, correct flashing detail before new siding goes on |
Our Repair Process
We keep this straightforward because homeowners deserve to know exactly what's happening to their house and why:
- On-site assessment. We walk the exterior, identify every area of concern (not just the spot you called about — coastal homes often have more than one issue developing at once), and check for the underlying moisture source rather than just the surface symptom.
- Straightforward explanation of findings. You get a plain-language rundown of what's actually wrong, what's driving it, and what fixing it correctly requires — before any work starts.
- Removal and inspection behind the siding. Once damaged sections come off, we inspect the barrier, flashing, and sheathing underneath. This is the step that's easy to skip and the one that determines whether the repair actually lasts.
- Correct reinstallation. Proper clearances, corrosion-resistant fasteners, correct lap and flashing sequence, and factory-finished material where James Hardie repairs are involved so the patch doesn't stand out as an obvious mismatch.
- Final walkthrough. We show you what was done and why, including anything we found that's worth watching going forward.
Why We Repair With James Hardie Fiber Cement
When a repair calls for replacement material — a damaged section, a full course, or trim — we use James Hardie fiber cement exclusively. We don't install vinyl, LP SmartSide, or wood siding products, and that standard matters even more on repair work in a coastal-influenced spot like Cottonwood Beach.
Fiber cement doesn't absorb water the way engineered wood products can, which matters directly given the moisture exposure here. It's non-combustible, it holds paint and factory finish far longer under UV and salt exposure than wood-based alternatives, and James Hardie's HZ5 product line is engineered specifically for the kind of wet, humid, freeze-adjacent climate found throughout Western Washington. When we patch in new material next to existing Hardie siding, the ColorPlus factory finish gives us a much better color and texture match than field-painted alternatives — an important detail on a repair, where blending new material into an existing wall is half the job.
We're not going to tell you every siding failure in Cottonwood Beach is a material problem — plenty of what we see is installation error or a flashing detail that was never done right in the first place, regardless of what product is on the wall. But when replacement material is part of the repair, we don't compromise on what goes back up.
What to Check Before Your Repair Gets Worse
If you own a home in this neighborhood, a short seasonal check can catch problems while they're still a repair instead of a full section replacement:
- Look along the bottom courses of siding for soft spots, especially near grade, downspouts, or hose bibs.
- Check north-facing and shaded walls for moss buildup or dark staining that doesn't wash off with light rain.
- Run a hand along fastener heads and trim screws for rust streaking or visible corrosion.
- Inspect caulk joints at corners, trim, and penetrations for cracking, gaps, or separation.
- Look for any panel that seems to bulge, wave, or sit slightly proud of the wall plane — that's often the first visible sign of moisture trapped behind it.
- After any significant windstorm off the water, do a quick visual check for lifted or displaced sections before the next rain event finds the gap.
Why a Crew That Already Works Cottonwood Beach Matters
Siding repair advice that's generic to "coastal Washington" misses details that matter on the ground. A crew that already works this specific stretch near Birch Bay knows which orientations catch the worst of the wind-driven rain, which areas hold moss longest into the season, and what fastener and flashing choices actually hold up rather than needing revisiting in a year or two. That's not a marketing point — it's the difference between a repair that solves the problem and one that just delays it.
We also know that a repair here isn't happening in isolation. Salt air affects every exposed material on the house, not just siding, so we'll flag anything else worth your attention while we're already on the wall — without turning a repair estimate into a sales pitch for work you didn't ask about.
Get a Straight Answer on Your Repair
If you're dealing with soft siding, persistent moss, rust streaking, or a section that just doesn't look right anymore, we're glad to take a look. We'll tell you honestly whether it's a repair or something more, and what correct work actually involves — no pressure, no inflated scope. Request a free estimate using the form below and we'll get back to you.