 Birch Bay Window
 Siding Repair in Custer: What the Climate Actually Demands
Custer sits close enough to the water that homes here take a different kind of beating than siding just a few miles inland. Salt-laden air off the Strait of Georgia and Birch Bay works its way into fasteners, seams, and cut edges year-round. Add Whatcom County's driving rain — the kind that comes in sideways during a fall or winter storm — and a long, damp moss season that runs from about October through April, and you've got three separate stressors attacking the same siding at once. A repair that ignores any one of those factors tends to fail again within a couple of years.
We get calls from Custer homeowners for all kinds of siding problems: a corner that's pulling away, a soft spot near a downspout, streaking and green growth that won't scrub off, or storm-cracked panels after a windy winter system blows through. The right fix depends less on what the siding looks like on the surface and more on what's happening behind it.
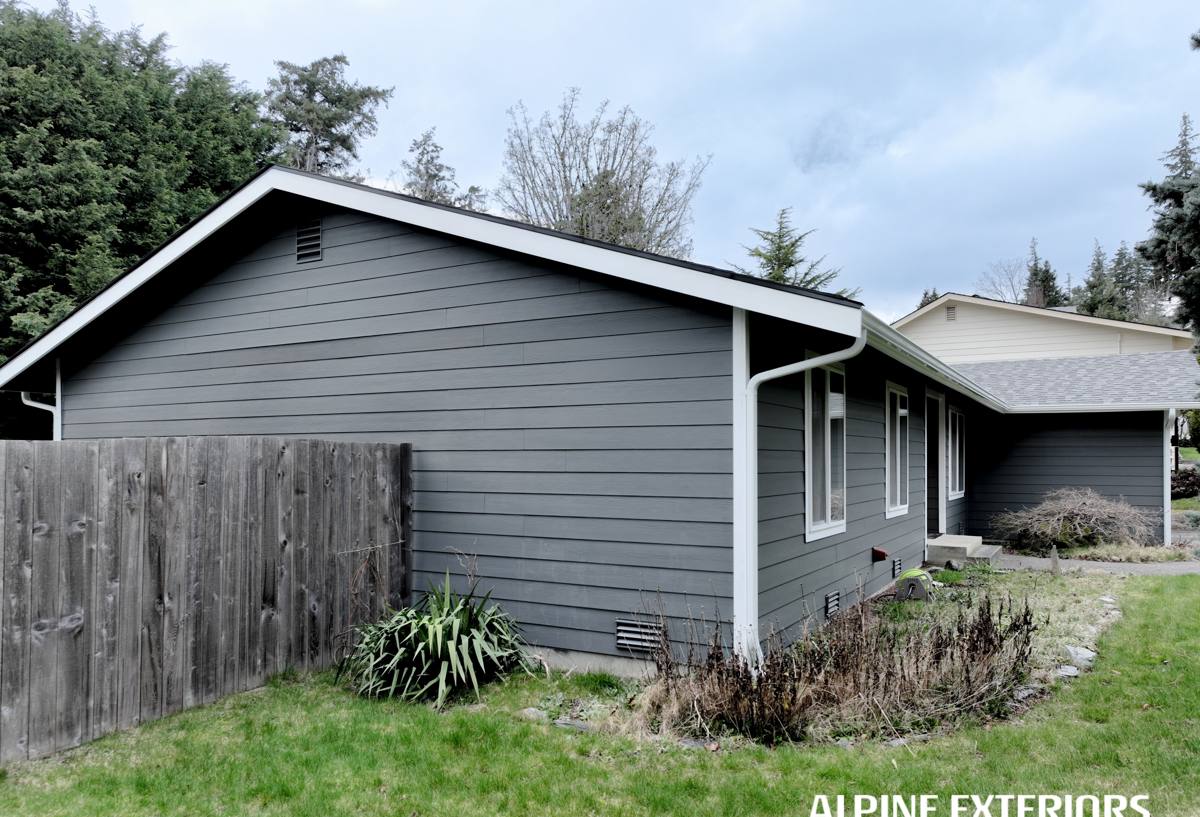
Common Siding Damage We See in Custer Homes
Moisture Intrusion and Hidden Rot
This is the big one. Wind-driven rain finds any gap in caulking, flashing, or trim and pushes water behind the siding instead of letting it run off the surface. On older installs — especially wood-based or engineered wood siding — that trapped moisture leads to soft, swollen, or crumbling material long before it's visible from the ground. By the time paint is bubbling or a panel feels spongy underfoot pressure, the sheathing behind it may already be compromised.
Cracked, Split, or Loose Panels
Wind gusts and impact from debris during winter storms crack panels or pop fasteners loose. Once a panel is loose, it flexes with every gust, which widens the gap around it and lets more water in — a small problem that gets worse every storm season it's left alone.
Moss, Algae, and Staining
Custer's shaded, damp winters are ideal growing conditions for moss and algae on north-facing walls and anywhere siding stays wet longer than a few hours after rain. Staining alone usually isn't a repair issue, but moss that's been established for a season or more holds moisture against the siding surface, which can accelerate whatever's underneath it.
Fastener and Trim Corrosion
Salt air corrodes exposed steel fasteners and trim hardware faster near the water than it does further inland. Corroded fasteners lose their grip, which is often the real reason a panel that "just came loose" actually failed.
Repair or Replace? How We Actually Make That Call
Not every damaged section needs full replacement, and not every visible crack is just cosmetic. We look at three things: how much of the wall is affected, whether there's water damage to the sheathing or framing behind the siding, and how the existing material is holding up overall. Here's how that generally breaks down:
| Situation | Typical Approach | Why |
|---|---|---|
| Isolated cracked or loose panel, sound material around it | Spot repair / panel replacement | Localized damage with no sign of moisture spreading behind adjacent panels |
| Soft or discolored area near a penetration (vent, hose bib, downspout) | Open up and inspect sheathing before repairing | These spots are the most common entry points for hidden rot |
| Multiple failure points across one elevation | Full elevation replacement | Patching a wall that's failing in several places rarely holds up, and rarely looks right |
| Original material is aging vinyl, LP SmartSide, or untreated wood nearing end of life | Discuss full replacement with James Hardie | Repairing a product that's already at the end of its service life is a short-term fix on a long-term problem |
We'll always tell you honestly when a repair is the right call and when it's just delaying a bigger job. A patch that's going to fail again in two winters isn't doing you any favors.
What a Correct Siding Repair Actually Involves
A repair that lasts starts with figuring out why the damage happened in the first place — not just replacing what's visibly broken.
- Diagnose the source, not just the symptom. A cracked panel might be the result of a fastener that backed out, a flashing detail that was never installed correctly, or simple impact damage. Each has a different fix.
- Check what's behind the siding. Where there's any sign of moisture, we pull back enough material to inspect the house wrap and sheathing before closing anything up. Repairing over hidden rot just hides the problem for another season.
- Correct the water management detail, not just the panel. If a repair is needed because flashing, caulking, or a gap in the weather barrier let water in, we fix that detail as part of the repair — otherwise the new material fails the same way the old material did.
- Match the material and finish. On James Hardie ColorPlus siding, we match panel profile and finish so a repair doesn't stand out as an obvious patch. On other materials, we're upfront about the limits of matching an aged, weathered original.
- Reseal and re-inspect. Proper caulking and trim work at the repair site, then a final check that the section sheds water the way the rest of the wall does.
Why the Original Material Matters When You're Repairing
We only install James Hardie fiber cement siding, and one reason is how much easier and more durable repair work is on it compared to the alternatives. Hardie's ColorPlus factory finish is baked on and formulated to hold color and resist the coastal weathering that fades and chalks field-applied paint faster. Fiber cement doesn't absorb water and swell the way wood-based products can, so a properly repaired section stays structurally sound instead of becoming the next soft spot.
We won't pretend every repair call in Custer involves Hardie siding — plenty of homes here were built or re-sided with vinyl, LP SmartSide, cedar, or older fiber cement products, and we service what's there. But when a wall has failed in multiple spots or the existing material is simply at the end of what it can reasonably give, we'll say so, and we'll explain why fiber cement is what we recommend putting back up. It's not about the brand name — it's about not repairing a product that's going to need the same repair again in three years.
Our Process for a Custer Siding Repair Call
Repair jobs move faster than full re-sides, but we don't cut corners on the diagnosis just because the scope is smaller.
- Inspection: We walk the affected elevation, check for related damage nearby, and look at trim, flashing, and caulking — not just the obviously damaged panel.
- Honest scope and estimate: You get a clear explanation of what's actually wrong, what a repair will and won't fix, and a written estimate before anything starts.
- The repair itself: Removal of damaged material, correction of the underlying water-management issue, replacement with matched or appropriate material, and proper resealing.
- Final check: We confirm the repair sheds water correctly and blends reasonably well with the surrounding siding before calling the job done.
Why a Crew That Already Works Custer Matters
Siding repair in a coastal Whatcom County community isn't the same trade as siding repair fifty miles inland. Crews that work Custer and the broader Birch Bay area regularly already know which elevations take the worst of the wind-driven rain, how aggressively salt air corrodes fasteners and trim near the water, and how long moss season really runs here versus what a general contractor might assume. That local pattern recognition shortens the diagnosis and helps us catch problems — like a flashing detail that's failed in the same way on three other Custer homes — before they turn into a bigger repair.
It also means faster response after a storm. When a winter system knocks a panel loose or drives water into a wall, a crew already working the area can usually get to it sooner than one dispatching from further away — and a loose panel left exposed through another storm cycle is how a simple repair turns into a sheathing replacement.
Maintenance Checklist Between Repairs
A little attention between service calls goes a long way toward keeping repairs from turning into replacements, especially in a climate like this one.
- Walk the exterior after major windstorms and check for loose, cracked, or missing panels
- Keep gutters and downspouts clear so water isn't overflowing directly onto siding
- Trim back vegetation and branches that keep siding shaded and damp longer than necessary
- Gently rinse moss- and algae-prone areas (typically north-facing and shaded walls) before growth gets established
- Check and refresh caulking around windows, doors, and penetrations every couple of years
- Watch for soft spots, discoloration, or paint bubbling near ground level and at trim joints — early signs of moisture problems
Getting a Straight Answer on Your Repair
Every siding repair call in Custer starts the same way for us: an honest look at what's actually damaged, what's driving it, and what it'll take to fix it right — whether that's a small panel replacement or a conversation about full re-siding. If you're dealing with storm damage, a soft spot you're not sure about, or siding that just isn't holding up to the salt air and rain the way it should, we're happy to come take a look. Reach out for a free, no-pressure estimate using the form below.