 Birch Bay Window
 Building a Deck That Can Actually Handle Custer's Weather
Custer sits close enough to Birch Bay and the water that homes here deal with a different set of outdoor conditions than a deck built twenty miles inland. Salt-laden air, wind-driven rain that finds its way under flashing and around fasteners, and a damp, shaded moss season that can stretch for months all put real stress on an outdoor structure. A deck that would hold up fine in a drier part of the state can start showing problems within a few years out here if it wasn't built with this specific climate in mind.
This page is about one thing: building decks for homes in and around Custer, and doing it in a way that accounts for what the local weather actually does to wood, metal, and fasteners over time. It's not a generic overview of deck building — it's what we've learned works, and what doesn't, for this part of Whatcom County.
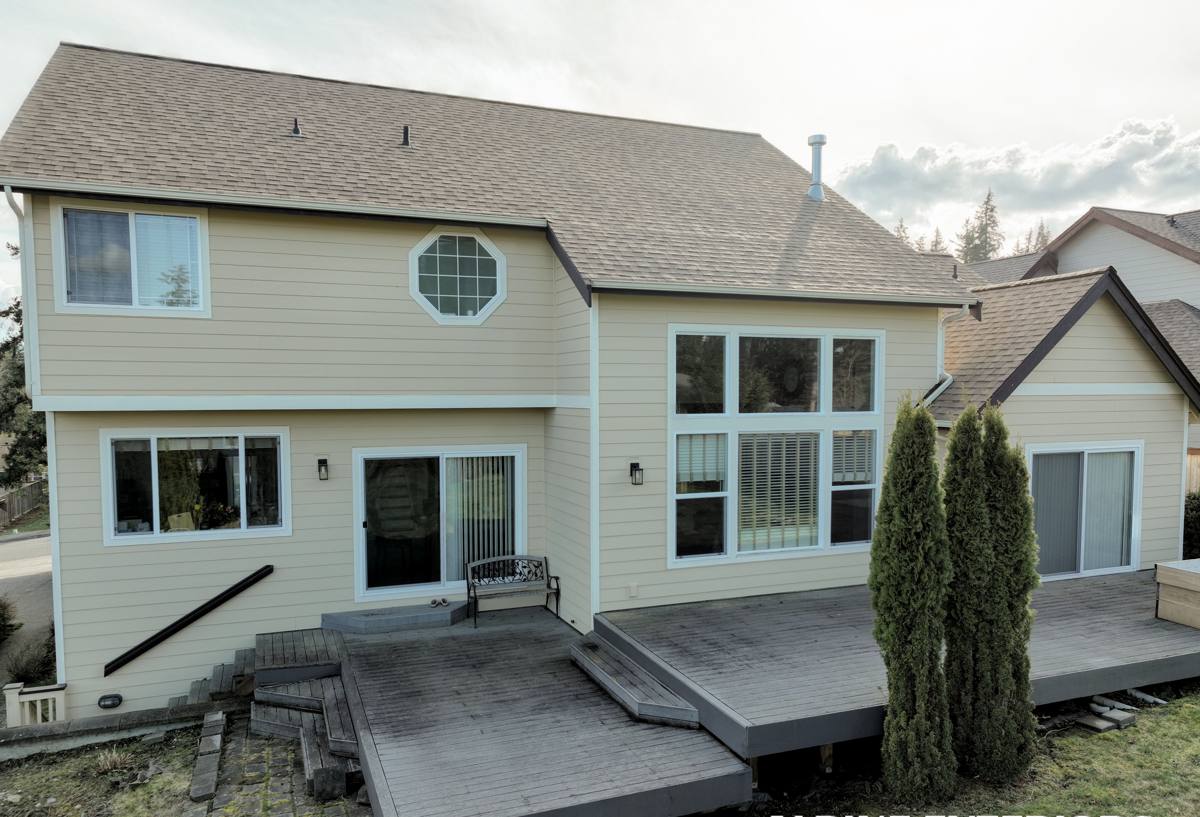
What Salt Air, Rain, and Moss Actually Do to a Deck
Salt Air and Metal Corrosion
Proximity to the bay means airborne salt is a constant, low-level presence on exterior surfaces. It doesn't show up all at once — it works slowly, attacking any metal that isn't rated for a marine or coastal environment. Standard carpentry screws, cheap joist hangers, and mismatched fasteners can start rusting and staining the wood around them well before the deck itself is due for replacement. Once corrosion starts on a structural fastener, it's a strength problem, not just a cosmetic one.
Driving Rain and Water Intrusion
Rain in this part of Washington doesn't always fall straight down. Wind-driven rain gets pushed sideways into ledger connections, under railing posts, and into any gap where flashing was skipped or installed loosely. A deck that looks properly built can still be taking on water behind the scenes, in places you won't see until rot has already set in.
Moss, Algae, and a Long Damp Season
Custer gets the same extended damp, low-light stretch as the rest of Whatcom County, and decking surfaces that stay shaded or don't drain well become moss and algae magnets. Beyond being unattractive, a mossy deck surface holds moisture against the wood and gets genuinely slippery — a real footing hazard on stairs and ramps, not just a maintenance annoyance.
Choosing the Right Decking Material for This Climate
There's no single "best" decking material for every home — the right choice depends on budget, how much upkeep you're willing to do, and how exposed the deck is to wind, rain, and salt air. Here's how the common options actually perform in this environment, based on what we see holding up and what we see failing early.
| Material | Upfront Cost | Moisture & Salt Air Performance | Moss Resistance | Ongoing Maintenance |
|---|---|---|---|---|
| Pressure-treated pine | Lowest | Good if sealed regularly; end cuts and fastener holes are vulnerable points | Low — needs regular cleaning | Annual cleaning and resealing recommended |
| Western red cedar | Moderate | Naturally rot- and insect-resistant, but still needs sealing in a coastal climate | Low to moderate | Cleaning and oil/sealer every 1–2 years |
| Capped composite | Highest | Excellent — doesn't absorb moisture or take on salt staining | Higher, but surface can still need washing | Occasional washing; no sealing or staining |
| Uncapped composite (older style) | Moderate-high | Weaker — some older formulations absorb moisture at the core over time | Moderate | Washing; more prone to moss staining than capped composite |
We'll walk through this table with you in person, against your actual budget and how the deck will be used, rather than just pushing whatever has the best margin. Composite costs more up front but trades ongoing sealing and staining for occasional washing. Cedar looks and feels like a traditional Northwest deck but only holds up if it's actually maintained on schedule. Pressure-treated is the budget option, and it can last a long time — but only if it's sealed and re-sealed, which is a commitment a lot of homeowners underestimate when they choose it.
What's Underneath Matters More Than What's on Top
The decking boards are the part everyone sees, but the structure underneath is what determines whether the deck is actually safe and long-lasting. This is where corners get cut on a lot of decks, and it's also where coastal weather does the most damage because problems are hidden from view.
Ledger Board and Flashing
The ledger board — where the deck attaches to the house — is the single most common failure point on any deck, anywhere, and it's especially unforgiving in a wet climate. Proper flashing directs water away from this connection instead of letting it pool and seep into the house rim joist. We flash every ledger connection correctly, every time, because this is not a place to save time or money.
Joist Protection
Untreated cut ends and joist tops are where rot typically starts first, even on pressure-treated lumber, because the factory treatment doesn't always penetrate a field cut. We seal cut ends and use joist tape on top of the framing so water sheds off instead of soaking into exposed wood fibers under the decking boards.
Footings and Post Bases
Footings need to be set below frost depth and sized for the soil they're sitting in, and post bases should hold the post up off the concrete so it's never sitting in standing water. This part of the build is inspected and permitted for a reason — it's the difference between a deck that stays solid for decades and one that starts wobbling in five years.
Hardware and Fasteners: The Small Parts That Fail First
In a low-salt-exposure environment, cheaper fasteners and hangers can get away with cutting corners. Near the bay, that shortcut shows up early as rust streaks, weakened connections, and hardware that has to be replaced long before the wood around it. We use stainless or coated fasteners and connectors rated for coastal and treated-lumber contact, matched to the metal in the joist hangers and post hardware so we're not creating a corrosion reaction between mismatched materials. It costs a bit more per box of screws. It's not worth arguing about — it's cheap insurance against a structural repair down the road.
Our Deck Building Process, Start to Finish
Every Custer property is a little different — lot slope, sun exposure, how close the deck sits to the water side of the property — so the process starts with looking at your specific site, not with a stock plan.
- Site walk and assessment. We look at drainage, grade, prevailing wind and rain exposure, and how the deck will attach to the house.
- Design and material selection. We talk through decking material, railing style, and layout against your budget, using the trade-offs above as a starting point.
- Permitting. Most deck projects in Whatcom County require a permit, especially anything attached to the house or built above a certain height. We handle this so it's done correctly and inspected at the right stages.
- Footings and framing. Footings are set to proper depth, framing is built with flashing, joist protection, and coastal-rated hardware from the start.
- Decking, railing, and stairs. Boards, railings, and any stairs are installed with attention to drainage gaps and proper fastening for the material chosen.
- Final walkthrough. We go over the finished deck with you, including what maintenance it will need and when.
Drainage and Grading Around the Deck
A deck doesn't exist in isolation from the ground around it. If the grading near the house slopes toward the foundation, or if the deck's footprint blocks water that used to run off freely, you can end up with standing water problems that have nothing to do with the deck's construction quality and everything to do with site drainage. Low-lying areas near Birch Bay can be more prone to this than higher ground further inland, so we look at how water moves across your lot before we finalize a layout, not after the deck is already built.
Keeping a Custer Deck in Good Shape Year After Year
A well-built deck still needs some basic upkeep in this climate — the good news is that most of it is simple and doesn't take much time if it's done on a regular schedule instead of skipped for years at a stretch.
- Sweep debris off the deck regularly, especially in fall when leaves and needles trap moisture against the boards
- Rinse or gently pressure-wash the surface once or twice a year to knock back moss and algae before it takes hold
- Check fasteners and railing connections annually for rust staining or looseness
- Reseal or re-stain wood decking on the schedule appropriate to that product — don't wait until it's visibly gray and dry
- Keep gutters and downspouts near the deck clear so roof runoff isn't dumping extra water onto or near the structure
- Trim back overhanging branches that keep sections of the deck shaded and slow to dry
Why It Matters to Hire a Crew That Already Works in Custer
A lot of deck problems we get called out to fix weren't caused by bad intentions — they were caused by a crew building to a generic spec instead of building for this specific climate. Flashing details, fastener choices, and material recommendations that work fine in a drier or more sheltered part of the state can fall short here within a few years. Working regularly in Custer and the surrounding Birch Bay area means we're not guessing at how salt air, driving rain, and a long moss season will treat a given material or connection — we've seen it play out on other decks nearby, and we build accordingly from day one.
We're also familiar with Whatcom County's permitting process for deck construction, which keeps your project from stalling out on paperwork or failing an inspection over a detail that should have been handled correctly the first time.
Let's Talk About Your Deck
If you're planning a new deck or replacing one that hasn't held up to the weather out here, we're happy to take a look and talk through honest options for your property and budget. Fill out the form below for a free, no-pressure estimate — we'll walk the site, answer your questions, and give you a straight recommendation, not a sales pitch.