 Birch Bay Window
 Windows That Are Right the First Time
New-construction windows go into a house at a very different moment than a replacement window does. They're set while the framing is still open, the weather-resistive barrier is still exposed, and there's no siding or trim covering up whatever happens next. That's actually an advantage — it's the one point in a home's life when the window opening can be built correctly from the studs out, instead of patched around after the fact. But it also means there's no room for a rushed or careless install. Whatever gets buried behind siding stays buried, for better or worse, for decades.
In Blaine, sitting at the top of Whatcom County right on the water, that margin for error matters more than it does in a lot of inland builds. We install new-construction windows on homes in this area regularly, and the jobs that hold up best are the ones where the flashing, the fastening, and the sequencing were done right the first time — not the ones with the nicest window brand on the label.
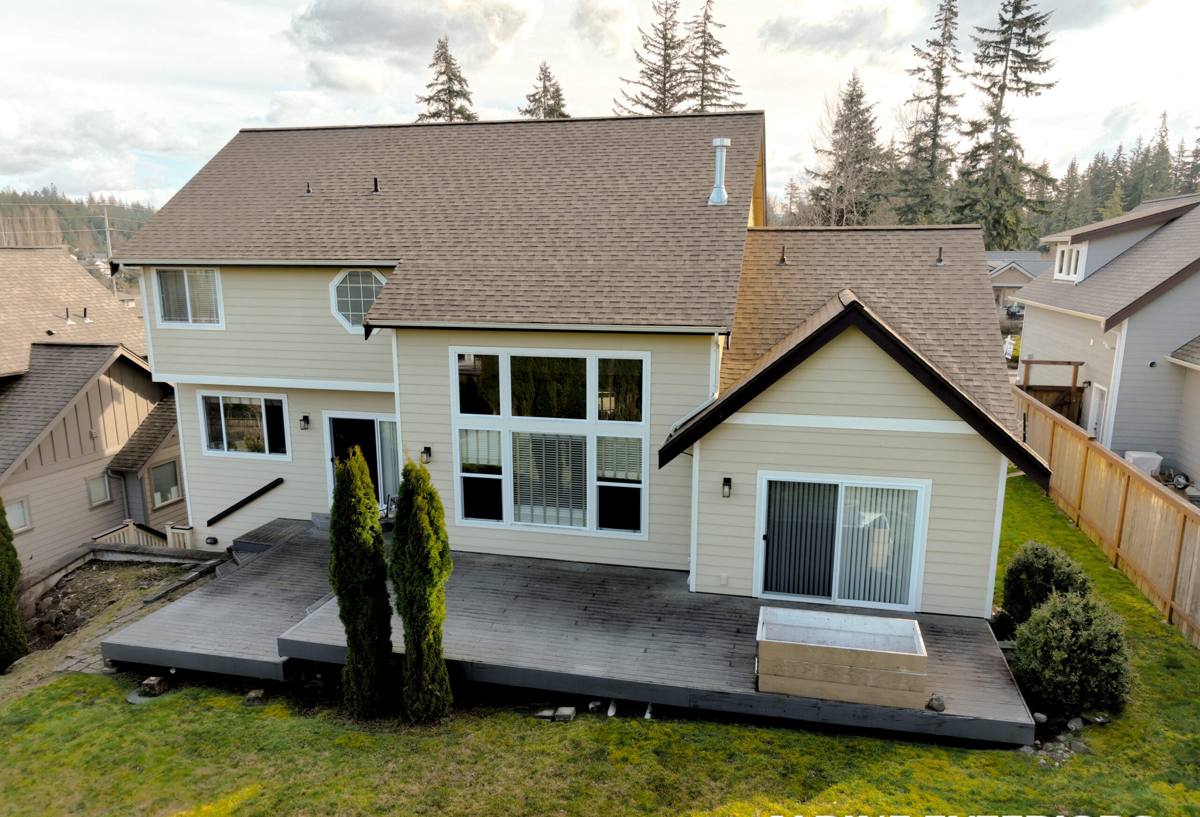
What Blaine's Marine Climate Asks of a New-Construction Window
A window opening in Blaine has to deal with three things most inland builds don't face nearly as hard: salt-laden air, wind-driven rain coming off the water, and a wet season that runs long enough to grow moss on just about anything that stays damp.
Salt Air and Hardware Corrosion
Airborne salt accelerates corrosion on uncoated fasteners, exposed metal flashing, and window hardware — hinges, cranks, locking points — faster than most manufacturers' standard warranty testing accounts for. Over a few years, that shows up as staining, stiff operation, or corroded screws that are a headache to replace once trim and siding are on. We factor this into which fasteners and flashing metals we use on a new build here, not just which window brand goes in the opening.
Wind-Driven Rain
Rain that falls straight down is a much easier problem to manage than rain that's being pushed sideways into a wall by wind off the water. Wind-driven rain finds gaps that vertical rain never would — around the top corners of a flange, at end dams, at rough-opening seams — which is exactly why the flashing sequence at each window matters as much as the window unit itself.
A Long, Damp Moss Season
Whatcom County's wet season stretches long enough that any spot where water sits or drains slowly stays damp for months at a time. That's the environment moss, mildew, and eventually wood rot need. A window opening with a flawed drainage path won't fail in year one — it'll fail quietly, three or four winters in, right when it's hardest to trace back to the original install.
New Construction vs. Replacement: Why the Method Is Different
It's worth being clear about this distinction, because it drives every decision that follows. A replacement window is a block-frame or insert unit set into an existing, finished opening — the trim, siding, and interior wall are already built around it, so the install works within those constraints. A new-construction window is a flanged (nail-fin) unit that fastens directly to the wall sheathing and gets integrated into the weather-resistive barrier — the housewrap or synthetic barrier — before siding ever goes on.
That flange is what allows the window to become part of the wall's actual water-management system, rather than just sitting inside a hole in it. Done correctly, water that reaches the wall never gets a path behind the window at all — it's shed down and out in the same shingle-lap order as everything else on that wall. That's the standard we build to on every new-construction opening, and it's the reason we spec the flanged unit and full WRB integration rather than treating a new build like a retrofit.
The Installation Sequence We Follow
A correct new-construction window install is really a sequence, and skipping or reordering a step is where most future leaks trace back to. This is the order we follow on every opening:
- Sill pan flashing — installed first, sloped slightly outward with back dams at the ends and rear, so any water that reaches the sill sheds out and away from the framing rather than pooling.
- Set the window — shimmed at the proper points for square, level, and plumb, without over-shimming in a way that bows the frame or binds the sash.
- Fasten the flange — per the manufacturer's nailing schedule, not by feel. Skipped fasteners or over-driven ones are a common source of long-term callback issues.
- Flash in shingle-lap order — side flanges over the sill pan, head flashing over the side flanges — so every layer sheds water onto the layer below it, never the reverse.
- Integrate the WRB — the housewrap or weather barrier gets cut, lapped, and taped over the flange in the correct order, restoring a continuous drainage plane across the whole wall.
- Seal selectively, not solidly — sealant goes where the manufacturer specifies and nowhere else. Caulking the bottom flange solid is one of the more common mistakes we see on other builders' work, because it traps any water that does get in rather than letting it drain back out.
- Air-seal the interior — low-expansion foam or backer rod around the interior perimeter, sized so it seals air movement without bowing the frame.
None of these steps are unusual or proprietary — they're standard practice. The difference between a window that performs for thirty years and one that causes problems in five almost always comes down to whether every step in that sequence actually got done, in order, on every opening, not just the ones that are easy to reach.
Choosing Frame Material and Glass for a Waterfront-Adjacent Site
Frame material and glass package both affect how a window holds up in this specific climate, and the right choice depends on the home's exposure and the owner's maintenance appetite as much as budget.
| Frame Material | Coastal/Salt-Air Performance | Maintenance | Typical Cost Position |
|---|---|---|---|
| Vinyl | Good — won't corrode or rust; UV-stable formulations hold color well | Low | Most affordable |
| Fiberglass | Very good — dimensionally stable, resists warping in temperature swings, no corrosion | Low | Mid to upper-mid |
| Wood-clad | Good on the exterior clad face; interior wood needs protection from condensation | Moderate — interior finish upkeep | Upper |
| Aluminum | Fair unless thermally broken and properly coated — bare aluminum is prone to corrosion near salt air | Low to moderate | Varies widely |
For glass, a dual-pane low-E unit with an argon fill is our standard recommendation for most new builds in this area — it balances thermal performance and cost well for our climate. On sites with more direct wind or road noise exposure, a triple-pane upgrade is worth pricing out. We also spec corrosion-resistant hardware and fasteners as a standard practice on new construction here, not as an upcharge — it's simply the right call for a home this close to the water.
Working With Your Builder or General Contractor
New-construction window installs happen on someone else's schedule — the builder's. Windows typically go in after the sheathing and weather-resistive barrier are on and before siding starts, which means our crew has to coordinate rough-opening sizes, framing tolerances, and timing directly with the GC rather than working independently. On a Blaine build, that also usually means scheduling around the framing inspection and being ready to move quickly once the wall is dried in, since leaving open rough openings exposed to weather any longer than necessary just adds risk.
We work directly with the builder or GC on order lead times, confirm rough-opening dimensions against approved plans before the units are ordered, and flag any framing discrepancies before they turn into a change order mid-build. That coordination step is easy to skip and expensive to fix later.
A Practical Checklist Before Siding Goes On
Whether you're a homeowner keeping an eye on your own build or a GC double-checking a subcontractor's work, these are the things worth confirming at every window opening before the siding crew closes it up:
- Sill pan flashing is present, sloped outward, and has back dams at the ends
- Flashing is layered shingle-style — sill, then sides, then head — so every layer drains onto the one below it
- WRB is cut, lapped, and taped back over the flange in the correct order, with no gaps or reversed laps
- Fasteners follow the manufacturer's nailing schedule, not a shortcut pattern
- Sealant is applied only where specified — the bottom of the flange is left able to drain, not caulked solid
- The unit is square, level, and plumb with no bowing from over-shimming
- Interior perimeter is air-sealed without gaps or overcompressed foam
Why a Crew That Already Works Blaine Matters
The physics of a good window install don't change from town to town, but the exposure does. A crew that's worked new construction across this stretch of Whatcom County has already seen how a given wall orientation handles wind-driven rain in January, which fastener and flashing combinations actually hold up against salt air over years rather than months, and how long the wet season here really runs before moss becomes a maintenance problem rather than a cosmetic one. That's the kind of judgment that doesn't show up in a manufacturer's install manual, because it depends on being on this coastline, not a generic one.
It also means fewer surprises during the build. Familiarity with how Whatcom County framing and building inspections typically go, realistic lead times for the products that actually perform here, and a track record on other new builds in the area all add up to a smoother process for the builder and a better-protected home for the owner.
Get a Free, No-Pressure Estimate
If you're building new in Blaine and want the window package planned out correctly from the rough opening forward — or you just want a second set of eyes on a builder's window spec before siding goes on — we're glad to take a look. Use the form below to request a free estimate, no pressure and no obligation.