 Birch Bay Window
 Point Whitehorn's Coastline Puts Extra Demands on Siding
Point Whitehorn sits on the Whatcom County shoreline just north of Birch Bay, close enough to the water that homes here take a different kind of weather than houses a few miles inland. Wind comes straight off the Strait of Georgia with salt in it. Rain doesn't just fall, it drives sideways into wall assemblies during winter storms. And the long gray stretch between fall and spring gives moss and algae months to work on anything that stays damp. Siding on this stretch of coastline has to hold up to all three at once, year after year, not just look good on installation day.
We install siding across Whatcom County, but Point Whitehorn homes get their own attention because the exposure is real. A product and installation method that's fine in a sheltered inland yard can fail early on a bluff-facing wall here. That's the gap this page is about closing.
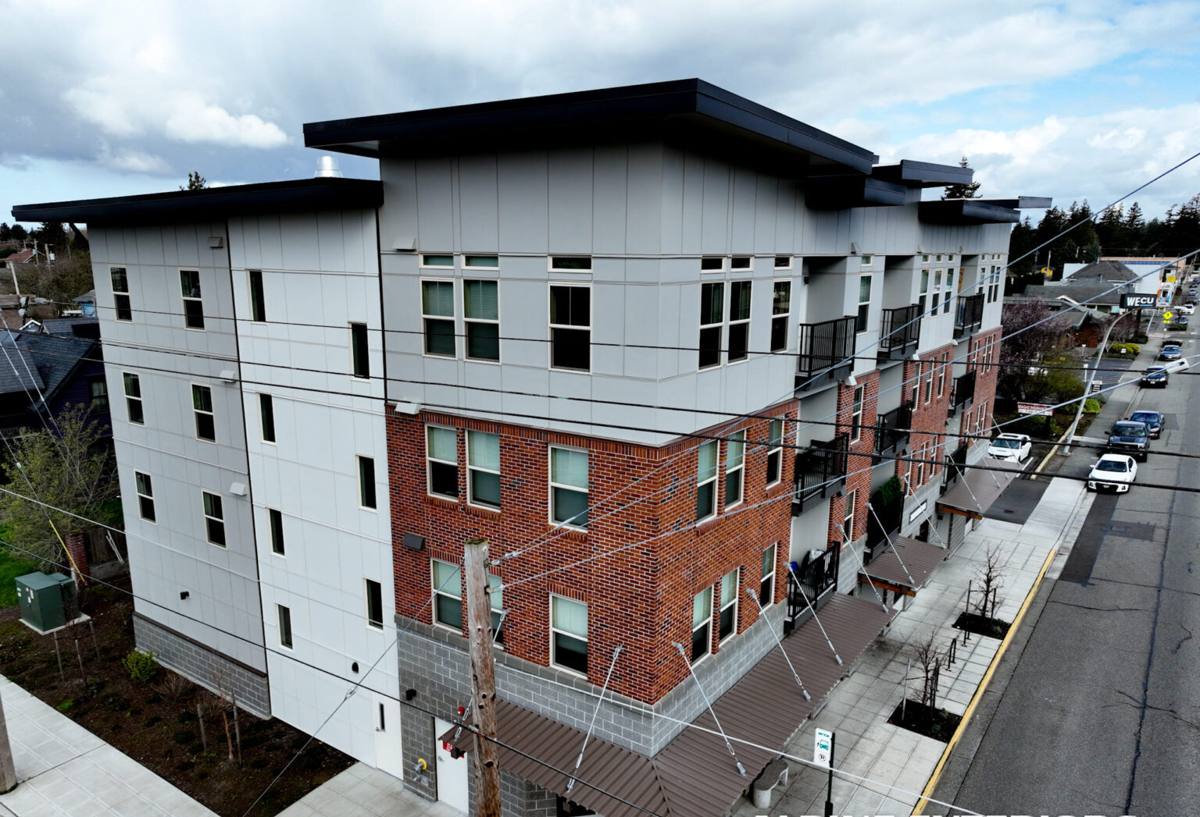
What Point Whitehorn Homes Are Actually Up Against
Salt Air and Corrosion
Airborne salt accelerates corrosion on fasteners, trim, and metal flashing, and it breaks down cheap paint and coatings faster than a normal exterior would suggest. Siding materials and finishes that aren't built for coastal exposure tend to chalk, fade, or corrode noticeably sooner near the water than the same product would a few miles inland.
Wind-Driven Rain
Storms off the water push rain horizontally, not straight down. That means water gets tested at every seam, joint, and penetration in the siding system — not just the top of a wall where gravity would normally send it. A siding job that isn't detailed for wind-driven rain will eventually let water behind the cladding, even if it looks tight from the street.
Moss and Prolonged Dampness
Between the marine layer, winter rain, and shaded north and west walls common on lots near the shoreline, siding surfaces here can stay damp far longer than in drier parts of the county. That extended dampness is exactly what moss, algae, and mildew need to take hold, and it's harder on materials that absorb moisture or trap it against the wall.
What a Correct Siding Installation Actually Involves
The siding itself is only part of the system. A correct install is really about managing water before it ever reaches the finished surface:
- A continuous weather-resistive barrier installed and lapped correctly, with no gaps or reverse laps that funnel water inward
- Proper flashing at every window, door, and penetration, integrated with the barrier so water sheds outward rather than behind the siding
- Correct fastening — the right nail type, spacing, and depth for the specific Hardie product, not a generic pattern
- Adequate clearance from grade, roof lines, decks, and other siding terminations so water and debris can't wick or pool against the bottom edge
- Caulking only where the manufacturer's installation instructions call for it — sealing the wrong joints traps moisture instead of shedding it
- Proper starter strips and butt joint treatment so panels perform as a system, not a collection of individually nailed boards
Skip or rush any one of these steps and the siding can look fine for a year or two while moisture works behind it unseen. On a site like Point Whitehorn, with more wind-driven rain and salt to contend with, shortcuts show up sooner rather than later.
Why We Install Only James Hardie Fiber Cement
We made a decision to install James Hardie fiber cement siding exclusively, and a coastal site like Point Whitehorn is a good illustration of why. Hardie's siding is non-combustible fiber cement, engineered in HZ5 formulation for the Pacific Northwest's wet climate specifically — it's built to resist moisture absorption, swelling, and the freeze-thaw and damp-cycle stress that this region puts on an exterior.
The factory-applied ColorPlus finish is baked on under controlled conditions rather than field-painted, which matters directly for salt air exposure — it holds color and resists chalking and fading better than a job-site paint job would, and it comes with its own finish warranty. Combined with Hardie's product warranty on the siding itself, homeowners get a system backed by the manufacturer, not just by our workmanship, and that warranty is transferable if the home sells.
We don't install vinyl, cedar, primed spruce, LP SmartSide, or other fiber cement brands. That's not a knock on every one of those products in every application — it's that we've standardized on one system we can install to spec every time and stand behind fully, rather than juggling different materials with different moisture behaviors, maintenance needs, and warranty structures.
Siding Options Compared for a Coastal Climate
| Factor | James Hardie Fiber Cement | Vinyl | Cedar / Wood |
|---|---|---|---|
| Moisture behavior | Engineered for wet climates (HZ5), doesn't absorb and swell | Doesn't absorb water, but can warp or gap, letting water behind it | Absorbs moisture readily; prone to rot without diligent upkeep |
| Salt air / coastal exposure | Factory ColorPlus finish resists fading and chalking | Can become brittle and discolored faster near salt air | Finish breaks down faster; needs more frequent refinishing |
| Moss and algae resistance | Dense, stable surface resists sustained growth better than absorbent materials | Growth can take hold in seams and lap joints | Porous surface is highly susceptible to moss and mildew |
| Fire resistance | Non-combustible | Combustible, can melt or deform | Combustible |
| Typical maintenance | Periodic washing, caulk checks | Low upkeep but limited repair options if damaged | Regular staining/sealing, ongoing rot inspection |
| Warranty | Manufacturer-backed, transferable | Varies by manufacturer | Typically none beyond installer workmanship |
Our Point Whitehorn Installation Process
- Site assessment — we walk the exterior, check existing wall condition, note exposure direction, drainage, and any moisture damage already present before quoting the job
- Removal and prep — old siding comes off, sheathing gets inspected and repaired where needed, and we don't cover up rot or soft spots
- Weather barrier and flashing — a continuous barrier goes on first, with flashing detailed at every window, door, and penetration before a single piece of siding is hung
- Installation to Hardie's fastening and clearance specifications — correct nailing pattern, proper starter course, and clearances from grade, roofs, and decks
- Trim, caulk, and touch-up — finish work done to manufacturer spec, not blanket-caulked to hide gaps
- Final walkthrough — we go over the finished job with the homeowner before calling it done
Mistakes We See From Rushed or Out-of-Area Installs
Working around Whatcom County over time, we've seen the same handful of problems repeat on homes that got siding replaced quickly or by crews unfamiliar with this exposure:
- Missing or improperly lapped flashing around windows, which lets wind-driven rain track behind the siding during storms
- Face-nailing or incorrect fastener spacing, which can cause buckling or panel movement over time
- Siding installed too close to grade, decks, or roof lines, holding moisture and debris against the bottom edge
- Over-caulking joints that should be left to drain, which traps water rather than shedding it
- Skipping a proper weather-resistive barrier or reusing a compromised one from the old siding
None of these show up on day one. They show up two or three winters in, usually as staining, soft spots, or moss taking hold in places it shouldn't be able to.
Checklist: What to Expect From a Point Whitehorn Siding Crew
- A clear explanation of the weather barrier and flashing plan before installation starts, not after
- Fastening and clearance specifications that match Hardie's published installation instructions
- Willingness to point out and address existing moisture or sheathing damage rather than sidestepping it
- A finished product warranty that covers both the siding and the factory finish
- Straight answers about maintenance expectations for a salt-air, high-moss environment
Maintaining Hardie Siding in a Salt Air, Moss-Prone Climate
Correctly installed Hardie siding is low-maintenance, not no-maintenance. In a spot like Point Whitehorn, a periodic rinse-down helps clear salt residue and organic buildup before it has time to establish, especially on north- and west-facing walls that stay shaded and damp longest. Keeping gutters clear and vegetation trimmed back from the wall improves airflow and drainage around the siding. It's also worth a visual check of caulked joints and trim after major winter storms — catching a small gap early is a much smaller fix than dealing with water damage behind the wall later.
If you're planning a siding project for a home in Point Whitehorn or elsewhere around Birch Bay, we're happy to walk the exterior with you, look at what the site is actually dealing with, and put together a straightforward, no-pressure estimate using the form below.