 Birch Bay Window
 Sandy Point's Siding Problem Isn't Really About the Siding
Most siding failures we see in Sandy Point don't start with a bad product. They start with water and salt finding a way in, and a wall assembly that wasn't built to get it back out. Sandy Point sits close to the water on Birch Bay, which means every wall on the west and north sides of a house is taking wind-driven rain and salt-laden air almost year-round. Add Whatcom County's long, damp shoulder seasons and you get siding that stays wet longer than it should, paint and caulk that break down early, and moss that gets a foothold anywhere shade and moisture overlap.
None of that is unusual for a Puget Sound-adjacent, salt-exposed community. It just means the standard for "correct installation" has to be higher here than it would be for a house twenty miles inland. A siding job that would hold up fine in a dry, sheltered lot can fail in five to eight years on a home that catches wind straight off the water. That's the gap we're closing when we talk about siding installation in Sandy Point specifically, rather than siding installation in general.
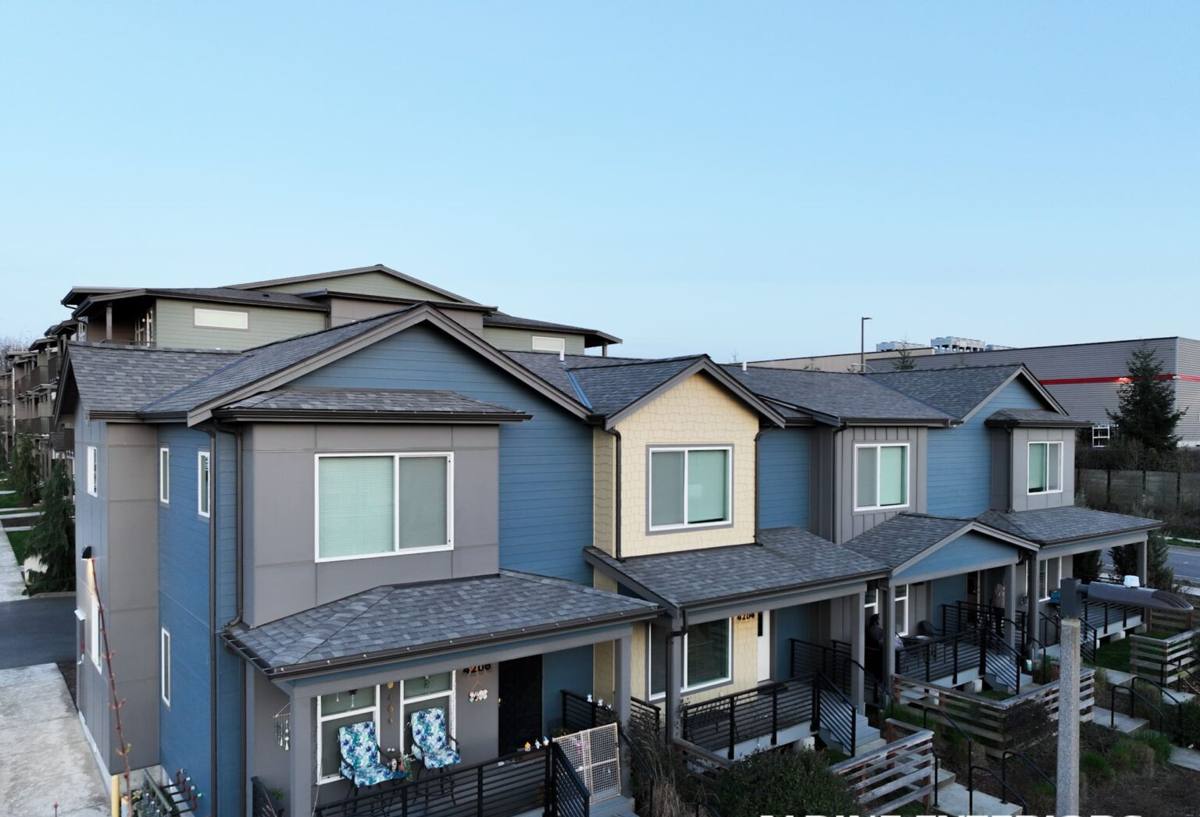
What Salt Air, Driving Rain, and Moss Actually Do to a Wall
Salt Air
Airborne salt is corrosive to exposed metal — fasteners, flashing, trim, and any hardware that isn't rated for it. Over time it also breaks down cheaper paint films faster than inland exposure would, which is why homes near the water tend to need repainting more often than the same product would need three or four miles inland.
Driving Rain
Wind off the bay doesn't just wet a wall, it drives water sideways and pushes it up under laps, around trim, and into any gap in the flashing. A wall system built for a calm site — thin house wrap, minimal lap overlap, caulk instead of flashing at penetrations — gets overwhelmed by that kind of exposure. Water finds the seams eventually; the question is whether it has somewhere to go once it's behind the cladding.
Moss and Prolonged Moisture
Whatcom County's wet season runs long, and shaded, north-facing walls in Sandy Point can stay damp for weeks at a stretch. Moss and algae take hold anywhere organic buildup sits on a damp surface, and once established they hold moisture directly against the siding face, which accelerates whatever paint or coating breakdown is already happening from salt and sun-cycling.
Put together, these three conditions don't just age siding cosmetically. They shorten the working life of the whole assembly if the installation underneath wasn't built to manage water rather than just resist it.
What a Correct Installation Looks Like for This Exposure
The difference between siding that lasts and siding that doesn't in a spot like Sandy Point almost always comes down to what's happening behind the visible surface. Here's what we consider non-negotiable for a coastal, high-exposure install:
- A drainage plane, not just a barrier. Water-resistive barrier alone isn't enough on a wind-driven-rain site — it needs a way to let bulk water drain and the wall cavity to dry.
- Rainscreen furring where exposure calls for it. A ventilated air gap behind the siding lets any moisture that gets past the cladding drain and dry instead of sitting against the substrate.
- Corrosion-resistant fasteners and flashing. Salt air punishes the wrong metal fast. Fastener and flashing material has to be chosen for a marine-influenced environment, not a generic inland spec.
- Flashing at every penetration and transition — window and door heads, deck ledgers, roof-to-wall intersections, and butt joints — installed to shed water downward and outward, with sealant used to back it up, not replace it.
- Correct lap and clearance dimensions, including ground clearance and gaps at grade, decks, and roof lines, so siding isn't sitting in standing water or trapped moisture.
- Factory-finished cladding where the color and protective coating are baked on under controlled conditions, rather than field-applied paint that's more exposed to the weather during cure.
Every one of these is a detail that's invisible once the job is finished and the siding looks good on day one regardless of whether it was done right. The difference shows up in year six or seven, not day one — which is exactly why it's worth getting right the first time.
Why We Only Install James Hardie Fiber Cement
We install one siding system on every home we work on: James Hardie fiber cement. We don't offer vinyl, LP SmartSide, Cemplank, Allura, primed spruce, or cedar, and that's a deliberate standard, not a limitation in what we're able to do.
Fiber cement is non-combustible and dimensionally stable in a way wood-based and engineered-wood products aren't — it doesn't swell, delaminate, or feed moisture the way an OSB-core product can if a seam or cut edge gets exposed to water over the years. On a site like Sandy Point, where the siding is under near-constant moisture pressure from salt air and driving rain, that stability matters more than it would on a sheltered inland lot. Hardie's ColorPlus finish is baked on and warranted separately from the substrate, which means the paint layer isn't relying on field application to hold up against UV and salt exposure the way a site-painted product does.
We're not saying every other siding product is unusable everywhere — vinyl, wood, and engineered wood all have a place, and each does some things well. What we're saying is that for the exposure profile we see on Birch Bay and Sandy Point homes specifically — salt, wind-driven rain, long wet seasons — we'd rather put our name behind one product system we trust completely than offer a menu and let climate risk fall on the homeowner's choice. Hardie's HZ product lines are engineered specifically for climate zones like ours, and the warranty is transferable, which matters if the home changes hands.
How We Approach a Sandy Point Siding Job
1. Exterior Assessment
We start by looking at the whole wall system, not just the visible siding — existing water damage, trim and flashing condition, window and door integration, and any areas where moss or staining point to a moisture pattern worth addressing before new siding goes up.
2. Tear-Off and Substrate Check
Once old siding comes off, we check sheathing condition underneath. This is often the point where hidden rot or water intrusion from years of undersized flashing shows up — better to find and fix it now than bury it under new cladding.
3. Water Management Layer
House wrap or building paper, flashing at every penetration, and rainscreen furring where the exposure calls for it. This is the layer that decides whether the job lasts fifteen years or forty.
4. Hardie Installation to Manufacturer Spec
Correct nailing pattern, lap dimension, clearances, and joint treatment, following James Hardie's published installation requirements — not a generalized "close enough" standard. This is also what keeps the manufacturer's product warranty intact.
5. Trim, Caulk, and Final Detailing
Trim and joint sealant sized and placed correctly, paying particular attention to any surface that faces prevailing wind and rain off the bay.
6. Walkthrough
We go over the finished work with the homeowner, including what maintenance (if any) the specific color and product line will need going forward.
Comparing Siding Options for a Salt-Air, High-Rain Site
| Factor | Vinyl | Wood / Engineered Wood | James Hardie Fiber Cement |
|---|---|---|---|
| Moisture tolerance | Doesn't absorb water, but can warp/buckle with heat and doesn't manage trapped moisture well | Vulnerable to swelling, rot, and delamination if water reaches cut edges or seams | Dimensionally stable; engineered to handle wet climate exposure |
| Salt air / coastal exposure | Can fade and become brittle faster near salt air and UV | Coatings break down faster under salt and UV, accelerating maintenance needs | Factory ColorPlus finish resists fading and holds up under coastal UV/salt cycling |
| Fire resistance | Combustible | Combustible | Non-combustible |
| Typical maintenance | Occasional washing; limited repair options if damaged | Regular repainting/resealing, especially on sun- and wind-exposed walls | Occasional washing; repainting only if not using factory ColorPlus finish |
| Warranty structure | Varies widely by manufacturer | Varies; often shorter and finish-dependent | Long-term, transferable product warranty |
What Drives Cost on a Job Like This
- Home size and wall complexity (number of corners, gables, dormers)
- Condition of the substrate once old siding is removed
- How much of the wall needs rainscreen furring versus standard drainage plane
- Trim scope — window and door surrounds, corner boards, fascia
- Product line and color selection within the Hardie lineup
- Access and site conditions specific to the property
Signs Existing Siding in Sandy Point Needs Attention
- Persistent moss or dark streaking on north- or west-facing walls that returns soon after cleaning
- Soft or spongy spots when you press on the siding, especially near the bottom courses or window trim
- Visible gaps, cracking, or separation at butt joints and corners
- Peeling or bubbling paint concentrated on the sides of the house that face the water and prevailing wind
- Rusted or corroded fasteners or trim hardware showing through the finish
- Interior signs — musty smell, staining, or soft drywall near exterior walls — that can point to water getting behind the cladding
Any one of these on its own isn't necessarily an emergency, but on a Sandy Point exposure they tend to compound quickly once they start. Catching them early usually means a smaller repair; waiting usually means replacing sheathing along with the siding.
Living With Hardie Siding in This Climate
One of the practical advantages of a factory-finished fiber cement product here is how little upkeep it asks for compared to a field-painted or wood-based alternative. That said, "low maintenance" isn't "no maintenance," especially this close to the water:
- Rinse siding periodically to keep salt residue and organic buildup from accumulating, particularly on walls that don't get much direct sun to dry them out
- Keep gutters and downspouts clear so runoff isn't sheeting down the siding face
- Trim back vegetation that shades a wall and keeps it damp longer than it should be
- Have caulking and trim checked periodically — the siding itself may outlast the sealant around it
- Address any moss growth promptly rather than letting it establish, since it's easier to remove early than after it's taken hold
Why Local Experience on This Specific Exposure Matters
Siding installation isn't identical from lot to lot, and a crew that mainly works drier, more sheltered sites inland doesn't always carry over the habits that matter on a wind- and salt-exposed shoreline community. Knowing to spec rainscreen furring on the water-facing walls instead of a standard drainage plane, choosing corrosion-resistant fasteners without being asked, and recognizing early moss and moisture patterns specific to this stretch of Whatcom County — that's the kind of judgment that only comes from having done the work here before, not from a generic installation manual.
It also means fewer surprises during the job. A crew that already understands Sandy Point's exposure knows what to check for once old siding comes off, plans around the weather patterns that are typical for the area, and doesn't have to relearn coastal detailing on your house.
Get an Estimate for Your Sandy Point Home
If your siding is showing wear from salt air, moss, or years of driving rain off the bay, we're happy to take a look and give you a straight assessment of what's going on and what it would take to fix it right. Reach out for a free, no-pressure estimate — there's a form below to get started.