 Birch Bay Window
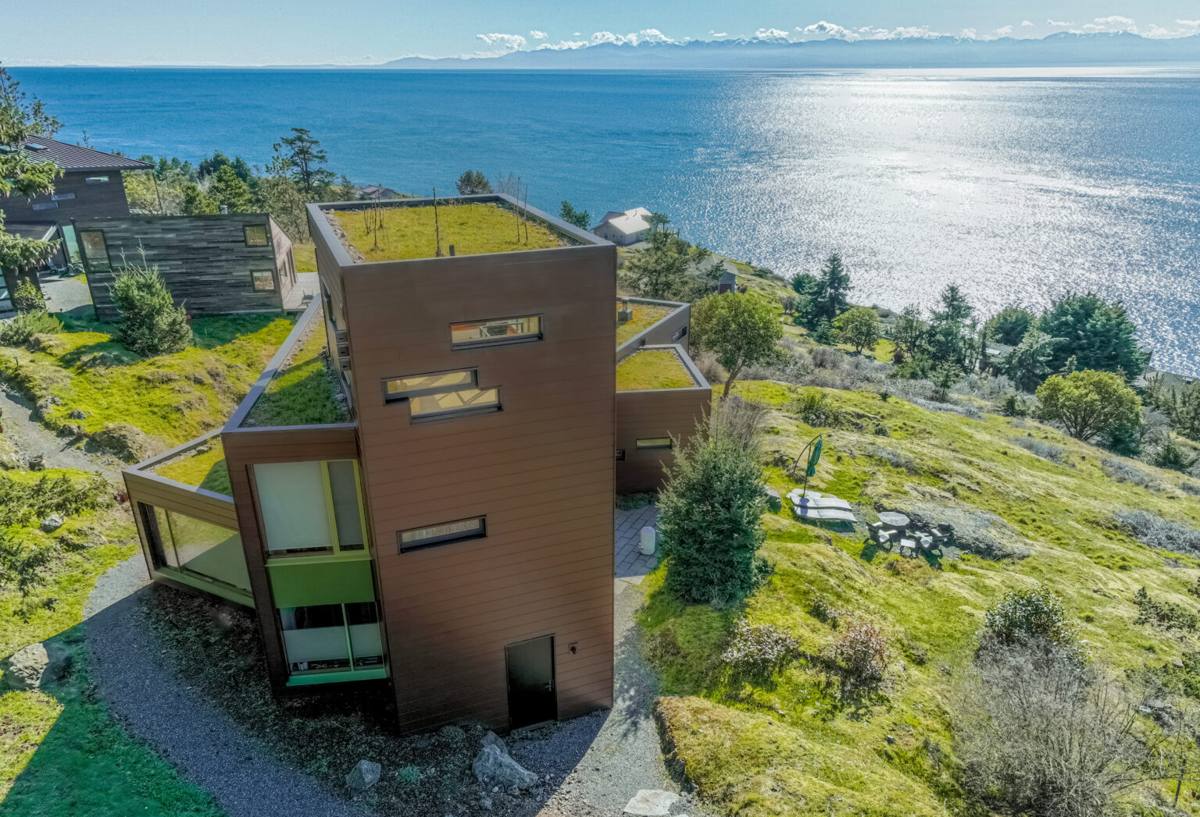
 Lummi Island sits fully exposed to open water, and that shows up directly in how siding ages out here. Salt-laden air, wind-driven rain, and a moss season that can run most of the year put constant pressure on exterior walls in a way that inland Whatcom County properties simply don't experience to the same degree. When a repair gets done wrong on an island property, the exposure doesn't give the mistake time to sit quietly — it turns into a bigger problem fast.
This page covers siding repair specifically for Lummi Island homes: what the local climate actually does to siding, what a correct repair requires, and why the crew doing the work matters as much as the material going back up.
Why Lummi Island Siding Fails Faster Than Inland Homes
Three conditions stack on top of each other on Lummi Island in a way that rarely happens a few miles inland. Salt-laden marine air accelerates corrosion on fasteners, flashing, and lower-grade trim faster than a drier setting would, which means small metal components can fail years before the siding around them shows any obvious wear. Wind-driven rain off open water pushes moisture sideways into laps, seams, and butt joints instead of letting gravity carry it harmlessly down the wall, so water finds gaps that would never get tested in a more sheltered location. And shaded or north-facing walls on the island support a moss and algae season that can run most of the year, holding dampness against the siding surface far longer than sun-exposed elevations ever see.
None of that means siding on Lummi Island is doomed — it means repairs have to account for exposure the manufacturer's baseline installation guidance wasn't written around. A patch that would hold up fine on a sheltered inland wall can fail within a season or two out here if it doesn't address how water actually moves across this kind of site.
Signs Your Siding Needs Repair — And Signs It Needs More
Not every mark on a wall is a repair job, and not every repair job stays a repair job once you get behind the surface. A useful first step is knowing which signs point to a contained, fixable problem and which ones suggest the damage has already spread further than it looks.
- Soft or spongy spots when you press on the siding, especially near the bottom of walls or below windows
- Cracking, swelling, or separation at butt joints and corner trim
- Paint or finish that keeps failing in the same spot no matter how often it's touched up
- Persistent moss or algae growth that stays damp to the touch rather than just discoloring the surface
- Visible gaps or gapping at trim, window casings, and siding seams
- Staining or discoloration on interior walls near an exterior wall — a sign water has already gotten past the siding
Isolated damage on one wall section or around one penetration is usually a straightforward repair. Damage that shows up in multiple spots across several elevations, or that turns out to involve soft sheathing once the siding comes off, is a different conversation — one where a repair would be patching a symptom instead of fixing the underlying problem. We'll tell you plainly which situation you're in before any work starts.
What a Correct Siding Repair Actually Involves
Diagnosing the Real Cause
Siding damage almost always has a cause upstream of where it shows up — a flashing detail that was never sealed correctly, a gutter that overflows onto the wall below it, a grade or landscaping issue pushing splashback onto the lower courses. Repairing the visible damage without addressing what caused it just means the same spot fails again, often faster the second time since the wall assembly has already absorbed one round of moisture.
Matching Material, Thickness, and Reveal
A repair that doesn't match the existing siding's thickness, profile, and reveal will read as an obvious patch and can create a water-shedding mismatch at the seam. This matters more on fiber cement than on some other materials, since board thickness and lap spacing are engineered to work together as a system.
Flashing and Water Management First
This is the step that determines whether a repair actually lasts on an exposed island property. Every board removed and replaced is a chance to correct the flashing behind it — house wrap that laps correctly, drip caps over trim, proper clearance at the bottom edge. Skipping this step and just swapping boards is the single most common reason a "repaired" wall fails again within a year or two.
Finish and Color Match
New siding sitting next to sun-faded existing siding is a common complaint after a repair. On factory-finished fiber cement, matching the existing color as closely as possible is part of doing the job right, not an afterthought tacked on at the end.
Repair Outlook by Siding Material
How well a wall repairs — and how long that repair holds up in Lummi Island's marine exposure — depends heavily on what's already on the house. Here's how the common options compare when the question is repair, not new installation.
| Material | Repairability | Moisture Behavior | Outlook After Repair (Island Exposure) |
|---|---|---|---|
| James Hardie fiber cement | Straightforward when reveal and thickness are matched | Non-combustible, dimensionally stable, doesn't absorb and swell like wood | Strong — repaired sections perform like the original system |
| Cedar / solid wood | Repairable but labor-intensive to match grain and finish | Absorbs moisture, prone to rot and repeat repairs in shaded, damp spots | Fair — high maintenance burden in this climate |
| Vinyl | Easy to swap panels, but exact color match gets harder as panels fade with age | Doesn't rot, but can warp or crack in wind and temperature swings | Fair — patch is quick, cosmetic mismatch is common |
| Engineered wood (LP-style) | Repairable, but any edge exposure risks swelling at the repair seam | More moisture-sensitive at cut edges than fiber cement | Mixed — depends heavily on how well the original install sealed edges |
Why We Repair With — and Toward — James Hardie
We install James Hardie fiber cement siding exclusively, and that standard carries into how we handle repairs. When a wall is already Hardie, matching material, reveal, and factory ColorPlus finish is a known, predictable process. When a wall is a different material and the damage is limited, we'll repair it honestly with a like material rather than push a mismatched fix — but when the damage points toward a larger project down the road, we'll say so, and we'll recommend Hardie for that work.
Cedar looks good and vinyl is inexpensive, but both carry real trade-offs in a marine climate: cedar needs ongoing maintenance to resist rot and moss, and vinyl can fade unevenly and become brittle over time. Fiber cement doesn't solve every problem, but it holds up to salt air and driving rain without the recurring maintenance cycle wood requires, and it carries a factory finish and warranty structure built for exactly this kind of exposure. That's why it's the only product we put on homes, and why it's what we steer repairs toward when a homeowner is deciding what to do next.
Our Process for Lummi Island Jobs
Assessment and Scheduling
Because Lummi Island is reached by ferry, we plan repair visits with that in mind — grouping the assessment, material pickup, and repair work to avoid wasted crossings and delays. We look at the damage in person before quoting anything, since siding problems are rarely accurately diagnosed from a photo alone.
Material Sourcing and Color Match
Once we know what's needed, we source matching fiber cement boards and trim, including color-matched ColorPlus finish where the existing siding is Hardie. If an exact match isn't available for an older product run, we'll tell you upfront and talk through the options rather than surprise you with a mismatched wall.
The Repair Itself
We remove only what's damaged, inspect and correct the flashing and house wrap behind it, and install matched material to the same reveal and fastening pattern as the surrounding wall. Every repair gets checked for proper clearance at grade and around trim before we call it finished.
Cleanup and Follow-Up
We clear debris and old material from the site before we leave, and we'll walk you through what we found and what we did — including any related issues worth keeping an eye on, like a gutter or grade condition that contributed to the original damage.
Why a Crew That Already Works Lummi Island Matters
Ferry-dependent scheduling changes how a repair job needs to be planned. A contractor who hasn't worked the island before can underestimate how much a missed ferry crossing costs in lost time, or show up without the right materials because they didn't scope the job with island logistics in mind. A crew that already works Lummi Island builds crossings into the estimate, stages materials correctly the first trip, and doesn't treat the island as an afterthought tacked onto a mainland schedule.
There's also a climate-literacy piece to it. A repair crew that mostly works sheltered, inland properties may not instinctively over-build the flashing detail the way an exposed island wall actually needs. Experience with this specific kind of exposure — salt air, driving rain, and a long moss season — shows up in the durability of the repair, not just in how it looks the day it's finished.
Keeping Repaired Siding in Good Shape
A correctly done repair still needs basic upkeep to get its full lifespan out of Lummi Island's climate. A few habits go a long way:
- Keep gutters clear so overflow doesn't run down and pool against repaired sections
- Rinse moss and algae off shaded walls before it has a chance to hold moisture against the surface long-term
- Trim back vegetation that keeps a wall section shaded and damp
- Check caulking at trim and penetrations yearly — it's the first thing marine air breaks down
- Have any new soft spots or paint failures looked at early, before they spread past the original repair area
If you're dealing with damaged siding on a Lummi Island property, we're happy to take a look and give you an honest read on what it needs — a targeted repair, or something bigger. The estimate is free, there's no pressure attached to it, and you can start with the form below.