 Birch Bay Window
 New Construction on a Peninsula Changes the Window Job
Point Roberts sits out on its own, surrounded by water on three sides, which means every new home built there takes a harder hit from the weather than a comparable build a few miles inland. Salt-laden air off the water, wind-driven rain that comes in sideways during winter storms, and a long damp season that keeps moss and algae growing on north-facing surfaces for much of the year — all of that has to be designed around, not discovered after the drywall is up. New-construction windows are your one real chance to get the water management, hardware selection, and flashing details right before they're buried behind siding and trim.
This page is specifically about installing windows during new-home construction in Point Roberts — not retrofit or replacement work in an existing wall. The framing, sequencing, and materials decisions are different, and getting them right up front is a lot cheaper than fixing a leak path five years into the home's life.
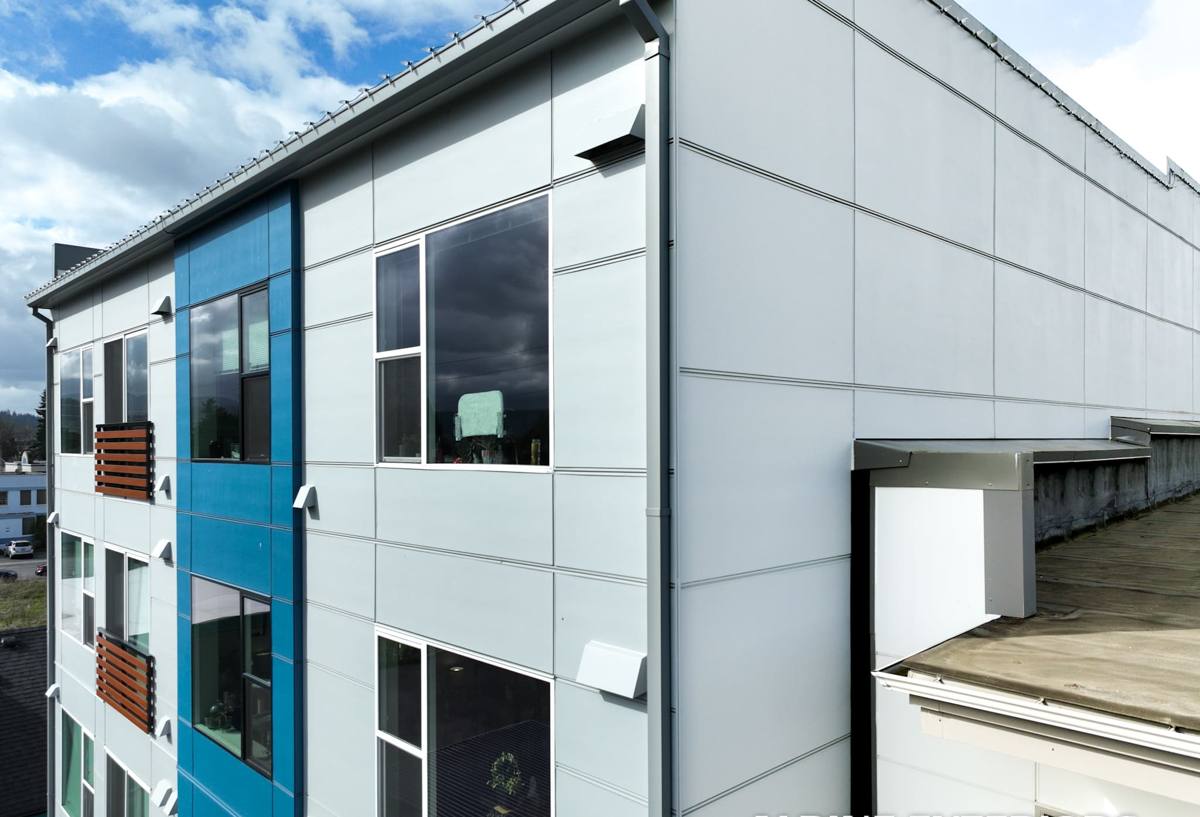
What "Correct" New-Construction Window Installation Actually Involves
A new-construction window has a nailing fin (or flange) that gets integrated into the wall's weather-resistive barrier during framing, before siding goes on. Done right, that integration is what keeps water out of the wall cavity for the life of the house. Done wrong — even by a crew that's fast and tidy — it's a leak that won't show up until there's already rot behind the wall.
The steps that matter most
- Sill pan flashing under every window, sloped to drain water back outside rather than into the framing
- Weather-resistive barrier (house wrap) shingled correctly around the rough opening so water always flows over the layer below it, never under
- Flashing tape at the jambs and head, lapped in the right order and pressed with a roller for real adhesion, not just laid on
- Window set square, plumb, and level in the rough opening, with shims at the right load points so the frame doesn't rack over time
- Fastening through the nailing fin per the manufacturer's schedule — skipping fasteners to save time is one of the most common shortcuts we see corrected on other builders' work
- Backer rod and sealant at the interior and exterior trim lines, sized and installed so the joint can flex with the building without failing
None of that is exotic. It's disciplined, sequenced work — but skip one step, or do it out of order, and the window looks fine for years while a slow leak works on the framing behind it.
Why Point Roberts' Exposure Raises the Stakes
Salt air
Airborne salt accelerates corrosion on hardware, fasteners, and lesser window components faster than it does even a few miles inland. On a waterfront-adjacent build, that means paying attention to fastener coatings and hardware finishes that are rated for coastal exposure, not just standard-grade parts that happen to be cheaper.
Wind-driven rain
A storm coming off open water doesn't just fall — it pushes. Wind-driven rain finds any gap in flashing or sealant and drives water horizontally into places gravity alone never would. This is exactly why sill pan flashing and correctly lapped house wrap matter more here than on a sheltered inland lot; a detail that would "probably be fine" elsewhere isn't good enough on an exposed Point Roberts elevation.
Moss and prolonged dampness
Whatcom County's long wet season keeps shaded and north-facing surfaces damp for extended stretches, and moss and algae take hold anywhere water sits or drains slowly. Window sills and trim that don't shed water cleanly become the first spots where organic growth starts, which is a maintenance headache and, over time, a moisture problem for the wood or composite trim around the opening.
Frame Material Trade-Offs for This Climate
There's no single "best" window material — it's a trade-off between upfront cost, maintenance, and how the material handles sustained moisture and salt exposure. Here's how the common choices stack up for a Point Roberts new build:
| Frame Material | Moisture & Salt Resistance | Maintenance | Typical Fit |
|---|---|---|---|
| Vinyl | Good — won't rot or corrode, but low-grade vinyl can warp with UV/temperature swings over time | Low — occasional cleaning | Cost-conscious builds, rentals, spec homes |
| Fiberglass | Excellent — dimensionally stable, handles moisture and temperature swings without warping | Low | Coastal-exposed elevations, long-term owners |
| Wood-clad (aluminum or vinyl exterior) | Good on the exterior face if the cladding is fully sealed; interior wood still needs protection from any water intrusion | Moderate — depends on cladding integrity | Interiors where wood aesthetic matters |
| Aluminum (uninsulated) | Prone to condensation and, without a thermal break, cold-conducts moisture to the frame surface | Moderate to high | Rarely recommended for this climate without a thermal break |
For most Point Roberts new builds, we steer owners toward fiberglass or better-grade vinyl for exposed elevations, paired with a glass package that includes a warm-edge spacer to reduce interior condensation during the damp months. We're not going to tell you a product is "bad" — we'll tell you honestly where a given material's maintenance burden or moisture behavior doesn't line up with how exposed your specific elevation is, and let you decide with the full picture.
Our New-Construction Process
New-construction window work has to sync with the builder's schedule, not run on its own timeline. Here's how we typically handle it:
- Plan review — we check window schedules against rough openings and framing plans before anything is ordered, catching sizing or swing-direction errors while they're still cheap to fix
- Rough opening verification — on site, before install, we confirm openings are square, correctly sized, and properly braced
- Sill pan and flashing installation — done before the window ever goes in, sloped and lapped for this climate's wind-driven rain
- Window setting — squared, shimmed, and fastened to the manufacturer's schedule
- WRB integration — house wrap shingled and taped around the unit so it becomes part of a continuous drainage plane, not a separate patch
- Interior and exterior trim — sealant joints sized and finished to flex without failing
- Final walk-through — every unit operated, checked for square operation, and inspected before we sign off
We coordinate directly with general contractors on sequencing so windows go in at the right point relative to house wrap, siding, and interior finish work — not too early, not so late that it holds up the schedule.
Working With Your Builder or GC
On most new builds we're one trade among several, and the window install has to land at the right moment — after the WRB is up, before siding closes in the wall. We communicate directly with the general contractor about scheduling, and we flag any framing or opening issues in writing before we proceed, so there's no ambiguity later about who did what if a question comes up during final inspection.
Mistakes We See on Other New Builds in This Area
Most of what turns into a callback five years later traces back to one of a handful of shortcuts taken during the original install:
- Sill pans skipped or installed flat instead of sloped to drain
- House wrap taped in the wrong order, so laps direct water into the wall instead of away from it
- Fasteners missing from the nailing fin schedule to save time
- Sealant used as the only line of defense, with no flashing behind it — sealant alone always fails eventually
- Standard-grade hardware used on an exposed, salt-air elevation where it corrodes faster than expected
Every one of these is invisible on install day and expensive once it shows up as a stain, soft trim, or a musty smell inside a wall.
What to Expect After Move-In
A correctly installed new-construction window in this climate is close to maintenance-free, but a little seasonal attention keeps it that way. Rinse salt residue and organic buildup off frames and sills a couple of times a year, especially on elevations facing open water. Keep an eye on exterior sealant joints for cracking after the first year or two of the house settling, and address any gap before the wet season sets in. If you notice moss or dark streaking building up on a sill faster than elsewhere on the house, it's usually a sign water isn't draining off that spot the way it should, worth a quick look rather than ignoring it.
Why Local Experience on This Peninsula Matters
Point Roberts is logistically its own animal — it's separated from the rest of Whatcom County by water and by an international border, which affects everything from material delivery timing to how a crew plans its day. A contractor who already works this area knows how to schedule around that, knows what exposure level a given elevation is actually dealing with, and isn't guessing at flashing details based on a climate zone that doesn't match what a waterfront lot in this exclave actually experiences. That familiarity shows up in fewer surprises during the build and fewer problems after it.
If you're framing a new build in Point Roberts, or planning one, we're glad to walk the plans with you and give you a straight read on what your window package should include for this exposure. Reach out for a free, no-pressure estimate — there's a form right below to get started.