 Birch Bay Window
 Why Birch Bay Village Roofs Wear Differently
Birch Bay Village sits close enough to the water that salt-laden air is a daily fact of life for every roof in the neighborhood, not an occasional nuisance. Combine that with the driving rain that rolls in off the Strait of Georgia and the long, damp Whatcom County winters, and you get a climate that's genuinely harder on roofing than most inland parts of the state. Salt air accelerates corrosion on fasteners, flashing, and any metal component that isn't rated for coastal exposure. Wind-driven rain finds every weak seam, lap, and penetration a roof has, especially on homes with the low-slope sections or dormers common in this area. And the region's long moss season — often eight months or more of the kind of shade, moisture, and mild temperatures moss loves — means organic growth is working on the roof surface almost year-round, not just in a short spring window.
None of this means a roof in Birch Bay Village is doomed to fail early. It means the roof has to be installed with these specific stresses in mind from the start — the right underlayment, the right fastener grade, the right ventilation, and detailing at valleys and penetrations that assumes wind-driven water, not just straight-down rain.
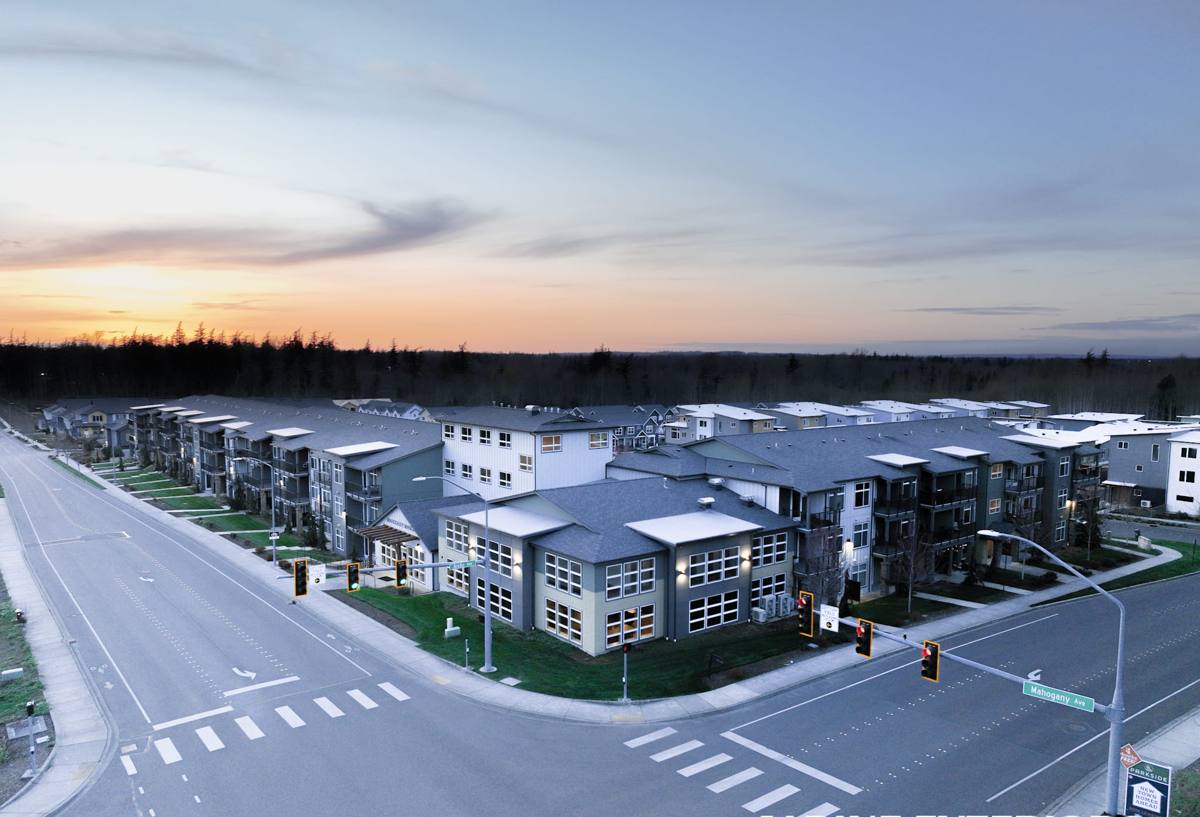
Signs a Birch Bay Village Roof Needs Replacing, Not Patching
Homeowners often call us thinking they need a repair when the roof has actually reached the point where patching is a short-term fix on a system that's failing broadly. A few signs point toward full replacement rather than another round of spot repairs:
- Granule loss heavy enough that you're finding sand-like buildup in gutters and downspouts season after season
- Moss that regrows within a few months of cleaning, especially on north-facing or heavily shaded slopes
- Soft or spongy decking felt underfoot during an inspection, a sign moisture has already gotten past the surface layer
- Multiple past repairs in different areas of the roof rather than one isolated problem spot
- Visible corrosion or rust streaking at flashing, valleys, or exposed fasteners
- Shingles that are curling, cracking, or lifting at the edges, especially on the sides that face prevailing wind and rain
If your roof is showing two or more of these at once, a proper inspection is worth doing before winter storm season rather than after a leak forces the issue.
What a Correct New Roof Installation Actually Involves
It starts below the shingles
The roofing material homeowners see is the last layer installed, not the first line of defense. For a coastal, high-moss climate like Birch Bay Village, the layers underneath matter as much or more:
- Decking assessment and repair — any soft, delaminated, or water-damaged sheathing gets replaced before anything new goes down, not covered over
- Ice and water shield at eaves, valleys, and around penetrations, where wind-driven rain and ice damming are most likely to force water backward under the shingles
- A synthetic underlayment rated for extended exposure, since coastal weather can delay a job or leave underlayment exposed longer than a dry-climate schedule would
- Corrosion-resistant fasteners and flashing — standard galvanized components corrode faster in salt air, so we specify hardware built to hold up in coastal conditions
Then the details that actually stop leaks
Most roof failures don't happen in the open field of the roof — they happen at transitions: valleys, chimneys, skylights, vent stacks, and wall intersections. Correct step flashing, counter-flashing, and valley metal work, installed with the right laps and sealed properly, is what separates a roof that handles driving rain from one that leaks during the first real storm.
Choosing Roofing Materials for Salt Air and Moss
There's no single "best" roofing material for every home — the right choice depends on your roof's slope, sun exposure, budget, and how much long-term maintenance you're willing to do. Here's how the common options compare under Birch Bay Village conditions specifically:
| Material | Moss resistance | Salt air durability | Typical lifespan (local conditions) | Maintenance burden |
|---|---|---|---|---|
| Architectural asphalt shingle | Moderate — benefits from algae-resistant granules | Good with corrosion-resistant fasteners and flashing | 20–30 years | Periodic moss/debris removal on shaded slopes |
| Standing seam metal | High — smooth surface sheds moss more easily | Requires marine-grade or coastal-rated coatings and fasteners | 40–50+ years | Low, but coating and fastener quality matter a great deal near the water |
| Composite/synthetic shingle | Good, varies by product | Generally strong resistance to salt corrosion since it's non-metallic | 30–50 years | Low to moderate |
| Cedar shake | Lower — natural wood is more hospitable to moss and moisture retention | Requires diligent maintenance in salt air and damp climate | 20–30 years with upkeep | High — regular treatment and cleaning needed |
We'll walk through this trade-off honestly for your specific roof rather than defaulting to whatever's easiest to install. A steep, sun-exposed south slope has very different needs than a shaded north-facing section that stays damp most of the year, and it's common for us to recommend different attention to detail — not necessarily different materials — across the same roof.
Ventilation and Moisture Control
A roof that's watertight on top but poorly ventilated underneath will still fail early in this climate. Trapped moisture in the attic condenses, saturates decking and insulation from below, and creates exactly the damp, low-airflow conditions that encourage rot and mold — independent of anything happening on the roof surface. Proper balanced ventilation (intake at the eaves, exhaust at the ridge) keeps air moving through the attic space, which does two things that matter here specifically: it helps the roof deck dry out after our wet stretches, and it reduces the shaded, moisture-trapping conditions on the roof surface that let moss take hold in the first place. We check and correct ventilation as part of every new roof installation, not as an upsell — it's part of the roof working the way it's supposed to.
Our Installation Process
- On-site inspection and estimate. We look at the whole roof system — decking, flashing, ventilation, and the material currently installed — not just the surface, and give you a clear, honest estimate.
- Material selection. We go over the trade-offs for your roof's exposure and budget so you're choosing based on real information, not a sales pitch.
- Scheduling around the weather. Coastal storm patterns mean we plan installation windows carefully and stage the job so your home is never left exposed longer than necessary.
- Tear-off and deck repair. Old material comes off, decking is inspected, and any damaged sheathing is replaced before new material goes down.
- Underlayment, flashing, and ventilation install. This is where most of the long-term performance of the roof is determined.
- Final installation and detail work. Roofing material, ridge, and all penetrations are finished and sealed.
- Walkthrough and cleanup. We review the finished roof with you, answer questions, and make sure the property is left clean.
Permits, Timeline, and What to Expect
Most residential roof replacements in Whatcom County require a building permit, and we handle that process as part of the job rather than leaving it to the homeowner. Depending on roof size and complexity, installation itself typically runs one to a few days once materials are on-site, though weather can push that timeline — which is normal for this area and something we plan around rather than treat as a surprise. We'll give you a realistic window up front and keep you posted if coastal weather requires adjusting the schedule.
Why a Crew That Already Works Birch Bay Village Matters
Roofing crews who mostly work drier, inland areas can install a technically fine roof that still underperforms here, simply because they're not thinking about salt exposure on fasteners, wind-driven rain at valleys, or moss-prone shaded slopes as default design considerations. A crew that regularly works Birch Bay Village and the surrounding Whatcom County coastline treats those factors as standard practice, not an afterthought — because we've seen what happens when they're skipped. That familiarity shows up in the small decisions: which fastener grade to use without being asked, how much ice and water shield to run at valleys, and where ventilation typically falls short on homes built to this area's older code cycles.
After Installation: Keeping Your New Roof Performing
A well-installed roof still benefits from basic upkeep, especially in a moss-prone, salt-air climate. A simple annual routine goes a long way:
- Clear gutters and downspouts at least twice a year, more often under overhanging trees
- Have moss growth removed gently before it spreads, rather than waiting for a heavy buildup
- Walk the yard after major windstorms and look for displaced or damaged shingles from the ground
- Check attic ventilation isn't blocked by insulation or debris during any attic work
- Schedule a roof inspection every few years, or after any major storm, to catch small issues early
None of this requires climbing on the roof yourself — most of it is visual and can be done safely from the ground or during a routine gutter cleaning.
If your Birch Bay Village roof is showing its age or you're planning ahead rather than waiting for a leak, we're happy to take a look and give you a straightforward, no-pressure estimate. Use the form below to get started.