 Birch Bay Window
 New-Construction Windows: A Different Job Than Replacement
When a house is going up from the studs out, the windows go in before the siding, before the interior finish, and often before the roof is fully dried in. That's a different job than replacing an old window in an existing wall. New-construction windows use a nailing flange that gets integrated directly into the house wrap and flashing sequence during framing, rather than an insert unit that fits inside an existing frame. Get that sequence wrong on a new build in Whatcom County, and you're not dealing with a cosmetic issue — you're building a moisture problem into the wall before the drywall ever goes up.
For homeowners and builders working on a new build in the Nooksack area, this matters more than it might in a drier climate. Our region's combination of driving rain, long wet seasons, and persistent moss growth on north-facing and shaded surfaces means every water management detail at the window opening has to be right the first time. Once the siding and trim are on, fixing a bad flashing job means tearing back into finished work.
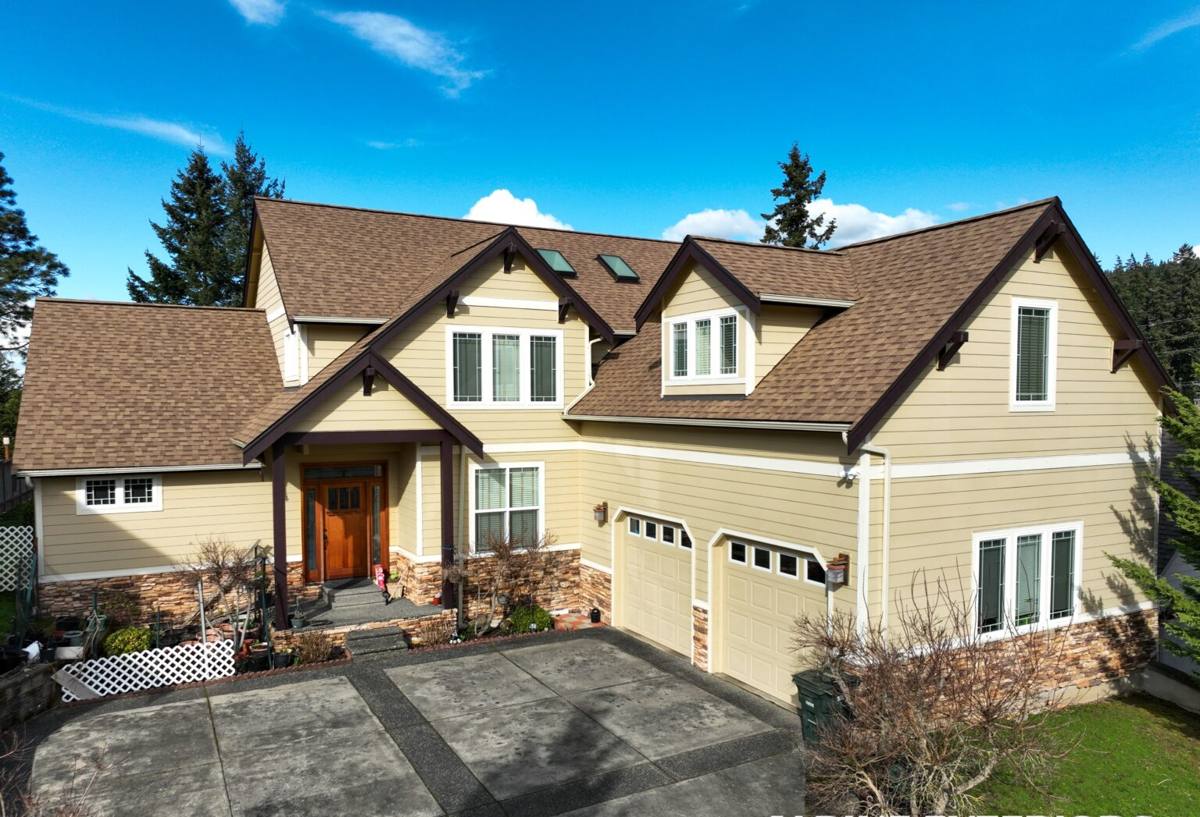
Why Whatcom County's Climate Drives the Spec
Nooksack sits inland from the water compared to our home base along Birch Bay, but it's still squarely inside the same marine-influenced weather system that defines this corner of Washington. That means long stretches of low-intensity rain rather than short heavy storms, wind-driven moisture that can push water sideways under poorly lapped flashing, and enough sustained humidity to keep moss and algae established on siding, trim, and roof edges for most of the year. Areas closer to Birch Bay itself deal with salt-tinged air on top of that, which accelerates corrosion on unprotected fasteners and hardware — a factor worth planning for on any Whatcom County build, even a few miles inland, since prevailing winds carry that marine air well past the shoreline.
None of this is exotic weather. It's just relentless. A window package that would be fine in a dry climate — with looser flashing tolerances, cheaper sealants, or a sill pan skipped to save time — tends to show its weaknesses here in year three or four, not year one. That's when homeowners start seeing staining below the sill, soft trim, or fogging between panes that signals a failed seal.
What This Means for a New Build Specifically
- Sill pan flashing at every rough opening, not just the ones facing prevailing weather — wind direction shifts across seasons.
- House wrap laps and window flange integration sequenced correctly (top flange under the wrap, side and bottom flanges over it, shingle-style) so water sheds outward at every layer.
- Sealant and flashing tape rated for the temperature range we actually get, applied to clean, dry substrate — many failures trace back to product applied in damp or cold conditions during a rushed schedule.
- Corrosion-resistant fasteners and hardware, especially on builds within a few miles of the bay.
- Overhangs and trim details that account for moss and algae growth on shaded elevations, so window heads and sills aren't sitting under a surface that stays wet for days after rain.
Getting the Installation Sequence Right
On a new build, window installation is a coordination job as much as a physical one. We're working inside the framer's and siding contractor's schedule, and the order of operations has to be right or someone's redoing work.
The Sequence We Follow
- Rough opening check. Confirm the opening is square, plumb, and sized correctly before anything gets installed — a bowed jack stud or an opening that's a half-inch off can throw off the whole unit.
- Sill pan flashing. A sloped or back-dammed sill pan goes in first, so any water that does get past the window has somewhere to go besides into the wall assembly.
- Set the window. Unit goes in level, plumb, and square, shimmed correctly so it operates smoothly and doesn't bind — a window that's slightly racked will fail its weatherstripping seal over time even if it looks fine on day one.
- Flange integration with house wrap. Flashing tape and wrap laps go on in the correct shingle-lap order so water always moves outward and downward, never inward.
- Fastening and insulation. Proper fastener spacing per the manufacturer's schedule, gaps around the frame filled with a low-expansion foam or backer rod and sealant that won't bow the frame.
- Interior and exterior seal-out. Air sealing on the interior, weather sealing on the exterior — both matter, and they're not the same step.
Every one of those steps is inspectable before the siding goes on, which is exactly when it needs to be checked. Once the exterior finish covers the opening, you're relying on it being done right the first time.
Choosing the Right Frame Material
New construction gives you a real choice of frame material, since you're not constrained by an existing opening. For Whatcom County's wet, temperature-swinging climate, that choice affects long-term maintenance more than most homeowners expect.
| Frame Material | Moisture Behavior | Maintenance | Notes for This Climate |
|---|---|---|---|
| Vinyl | Won't rot; seams are the weak point if welds are poor | Low — no painting, occasional cleaning | Good value; verify quality of corner welds and reinforcement in larger sizes |
| Fiberglass | Very stable, minimal expansion/contraction | Low | Handles temperature swings and driving rain well; higher upfront cost |
| Wood-clad | Cladding protects exterior, but any breach exposes wood core | Higher — cladding seams need periodic inspection | Good look, but moisture sensitivity is a real trade-off in a climate this wet |
| Aluminum | Won't rot; prone to condensation without thermal break | Low | Only recommended with a proper thermal break; otherwise condensation issues are common here |
We don't push one material as universally "best" — each has a legitimate place depending on budget, architectural style, and how much long-term maintenance the homeowner wants to take on. What we do insist on is being honest about the trade-offs up front, especially anything that requires ongoing upkeep to keep moisture out over a Whatcom County winter.
Glass Package: What Actually Matters
New construction is also the point where the glass package gets locked in, and it's worth more attention than it usually gets. Two numbers matter most:
- U-factor — how well the window resists heat loss. Lower is better for our heating-dominated climate.
- SHGC (Solar Heat Gain Coefficient) — how much solar heat passes through. This should be tuned to the window's orientation; south- and west-facing glass benefits from a lower SHGC to manage summer heat gain, while north-facing glass has less need for it.
Double-pane, low-E glass with an argon fill is the standard baseline we recommend for new builds in this area — it balances performance and cost well for our climate zone. Triple-pane is worth discussing for a specific room with unusual exposure or noise concerns, but it's not automatically the right call for every opening. Look for the NFRC label on any unit you're comparing — it's the only apples-to-apples way to compare performance claims between manufacturers.
Our Process for a Nooksack New-Build
New construction work runs on the builder's schedule, and windows sit on the critical path — framing can't fully close up, and siding can't start, until they're set and flashed. Our process is built around not being the bottleneck.
- Plan review. We work from the architectural plans or window schedule to confirm sizes, egress requirements, and any structural or energy-code considerations before ordering.
- Lead time coordination. Custom sizes and certain frame materials carry longer lead times than stock units — we flag this early so it doesn't hold up the framing schedule.
- Installation on-site. Set, flashed, and sealed following the sequence above, coordinated directly with the framer and house wrap installer.
- Pre-siding walkthrough. Every opening gets checked before the exterior finish covers it — this is the last point where a flashing issue can be caught cheaply.
- Final check at close-out. Operation, seals, and hardware confirmed once the building is weathertight.
What Drives Cost on a New-Construction Window Package
| Factor | Why It Matters |
|---|---|
| Frame material | Vinyl generally costs less than fiberglass or wood-clad; material choice is often the single biggest line-item swing |
| Glass package | Low-E coatings, gas fills, and triple-pane options add cost but also long-term energy performance |
| Size and configuration | Large openings, custom shapes, and multi-unit combinations (bays, corner windows) cost more than standard operable units |
| Number of openings | Per-unit cost typically drops with larger overall orders due to shipping and scheduling efficiency |
| Site conditions | Second-story or hard-to-access openings add labor time regardless of the unit itself |
We don't quote a per-window price without seeing the plans, because the mix of these factors varies so much from build to build. What we can promise is a straightforward, itemized estimate — no vague allowances that turn into surprises at close-out.
A Checklist Before You Finalize Your Window Order
- Confirm frame material matches your maintenance expectations and budget, not just the showroom sample.
- Check U-factor and SHGC against your window's orientation, not a single blanket spec for the whole house.
- Verify egress sizing on bedroom windows against current code requirements.
- Ask how sill pan flashing will be handled at each rough opening — this should never be assumed or skipped.
- Confirm fastener and hardware corrosion resistance, especially for any elevation facing prevailing weather.
- Get lead times in writing before framing locks in a schedule that depends on window delivery.
- Ask for a pre-siding walkthrough as part of the installation process, not an afterthought.
Why a Crew That Already Works This Area Matters
New-construction window installation isn't a specialty most homeowners shop for the way they'd shop for a replacement window quote — it's usually one piece of a larger build, coordinated through a general contractor or handled directly by the homeowner acting as their own GC. Either way, the value of a crew that already works Whatcom County builds shows up in the details: knowing which flashing sequence actually holds up through a wet Whatcom winter, knowing realistic lead times for the frame materials that perform well here, and knowing how to sequence with framers and siding crews without becoming the delay on the job.
It also shows up in judgment calls that don't have a single right answer on paper — like which elevations need extra attention to moss and shading, or where a slightly different flashing detail is worth the extra ten minutes because of how a particular roofline sheds water. That kind of judgment comes from doing this work repeatedly in this specific climate, not from a general contractor checklist.
Let's Talk About Your Build
If you're planning a new build in the Nooksack area and want a straightforward look at window options, lead times, and what a correct installation actually involves, we're happy to walk through it. Use the form below to request a free, no-pressure estimate — bring your plans or window schedule if you have them, and we'll give you a clear, itemized picture of what the job involves.